
V70 2.4T L5-2.4L Turbo VIN 58 B5244T3 (2002)
-
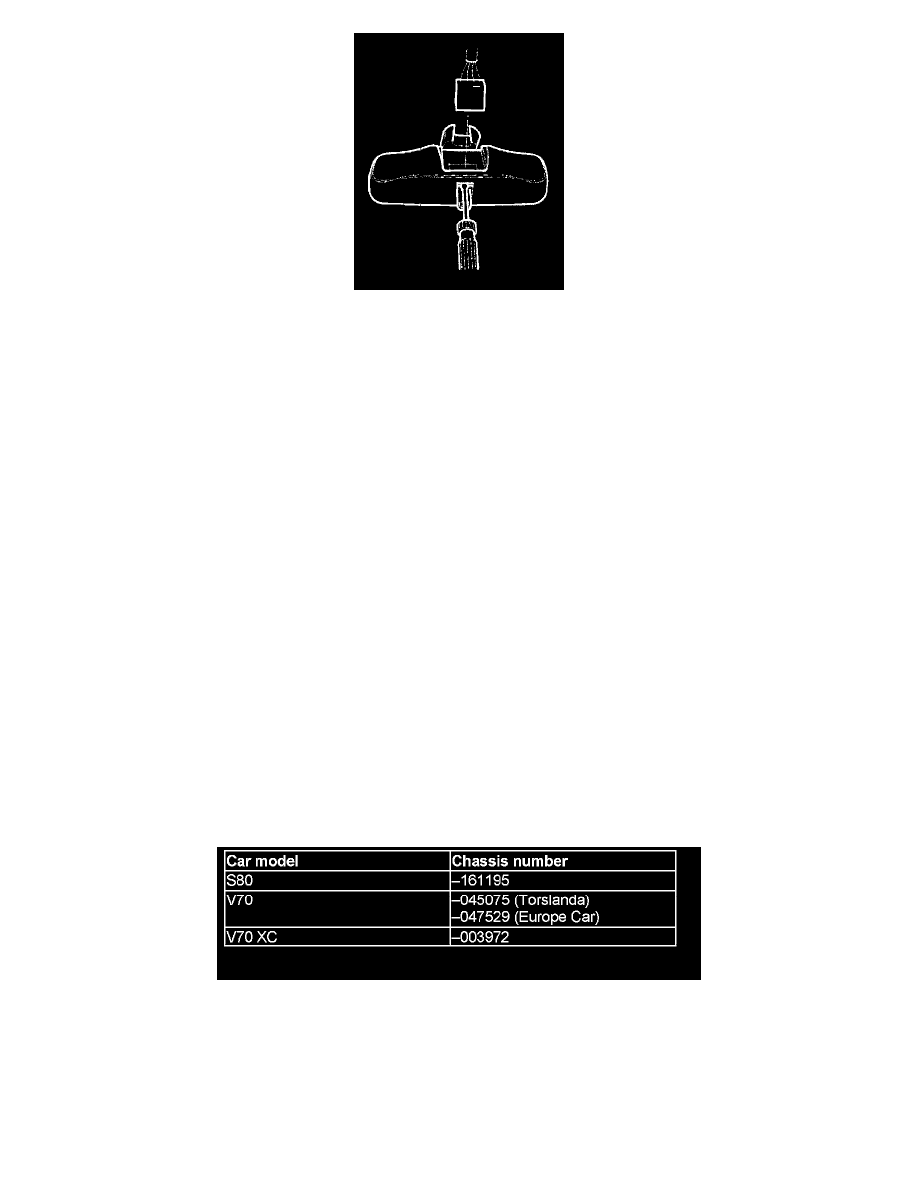
Flip the anti-dazzle button toward the lens. Disconnect the connector in the control module by pressing the catch through the opening. Use a
screwdriver
-
Remove the screw from the control module
-
Remove the control module.
Check
Check that the control module connectors are intact.
Installing the control module
-
Screw the control module screw into place
-
Connect the connector for the control module
-
Reinstall the cover for the control module connector
-
Connect the 2 connectors
-
Press the bulb holder into place
-
Install the ground lead
-
Install the 2 screws at the front edge
-
Install the lens.
Ordering software
NOTE: The VIN number of the vehicle consists of 17 characters. The 7th character from the left indicates the installation plant. The last 6 characters
are the chassis number. A 1 indicates Torslanda as the installation plant. A 2 indicates Europe Car as the installation plant.
Start by identifying the chassis number of the car and the installation unit. Then order the correct software for programming the upper electronic module.
The order process is carried out, and afterwards one returns here.
Download the software to the control module. Select the correct download procedure from the chassis number and installation unit in the following
paragraph, Programming the control module.
For the following cars:
Order software.
For the following cars: