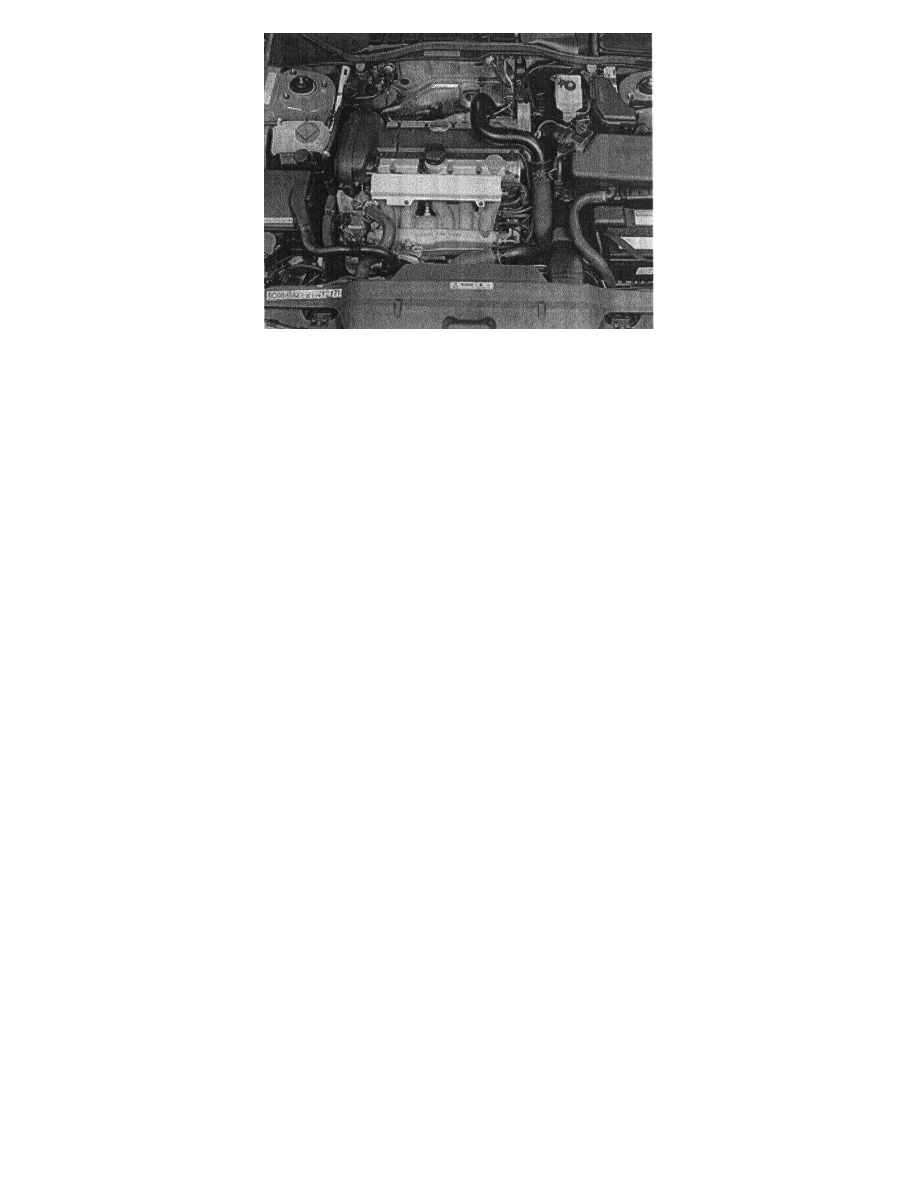
V70 XC AWD L5-2.4L Turbo VIN 56 B5254T (1998)

-
the front camshaft belt cover. Tighten to 12 Nm (8.8 ft lbs)
-
the upper camshaft belt cover. Tighten to 8 Nm (6 ft lbs)
-
the auxiliaries belt.
-
the cable duct. 3 nuts.
-
the expansion tank.
-
the servo reservoir.
Wipe clean.
Check the level and top up as necessary.
Note! Check that the hoses are correctly positioned.
-
the starter motor.
Tighten the screws at the transmission to 40 Nm (29 ft lbs)
Tighten the support bracket screw to 25 Nm (18 ft lbs)
-
the engine Cooling Fan (FC).
-
the hose between the charge air cooler and the intake.
Remove the seals.
Tighten the clamp on the charge air pipe at the Throttle Body (TB).
-
screw the relay bracket and the fan shroud into place.
-
the Canister Purge (CP) valve, relays and connectors.
-
the air ducts.
-
the brake vacuum hose.
-
the trigger wheel.
Tighten to 17 Nm (12 ft lbs)
-
the Camshaft Position (CMP) sensor housing and a new cover.
Tighten the screws.
-
the torque rod bracket.
Tighten to 50 Nm (37 ft lbs)
-
the upper torque rod.
Tighten to 35 Nm (26 ft lbs) Angle-tighten 90 degrees
-
the cover over the ignition coils.
Tighten to 8 Nm (6 ft lbs)
-
the charge air pipe over the engine.
Remove the seals.
-
the Air Cleaner (ACL) cover and the intake air hose.
-
the solenoid valves on the Air Cleaner (ACL) cover.
