
V70R AWD L5-2.3L Turbo VIN 52 B5234T6 (1998)
15
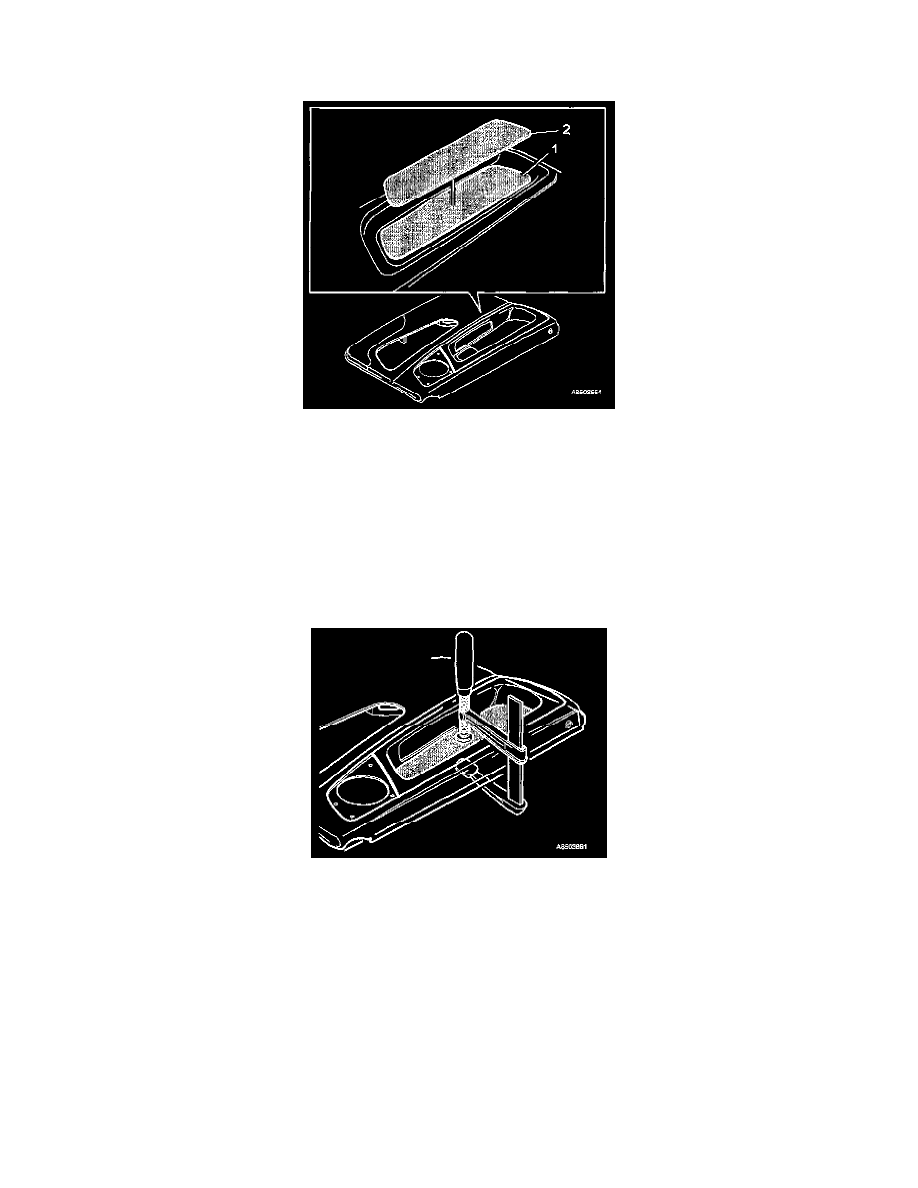
Position of fixture
Position of fixture and the plywood piece on the insert.
1
Lower plate (thin plate)
2
Upper plate (plywood)
16
Press the insert into place, front panels
Caution!
Excessive pressure will cause marks in the insert material.
Secure the adhesive fixture using a clamp positioned in the center of the press tool and underneath of the workbench. Or use a piece of wooden board
minimum size 18" x 40" 3/4".
Note!
Top edge of door panel must overhang work bench. Backside of door panel must be supported to a flat surface.
Note!
Turn clamp handle until upper wood piece comes in contact with lower plate. The insert must be compressed while the adhesive cures. Curing time
depends on ambient temperature. Clamp should remain in place until adhesive is fully cured.
17
Press the insert into place, rear panels
Caution!
Use two clamps when pressing rear insert applying light pressure to the press plates.