
V70R AWD L5-2.3L Turbo VIN 52 B5234T6 (1998)
-Carefully heat the old heater pad to remove it.
Caution! Ensure that the foam filling is not damaged when removing the heater pad. Ensure that the pad is detached from the foam filling.
This is to avoid function problems when installing the new heater pad.
-Note! Damaged foam filling must be replaced. This to guarantee function. This also applies to damage caused by cracks in the seat back and seat frame.
Installing heater pads
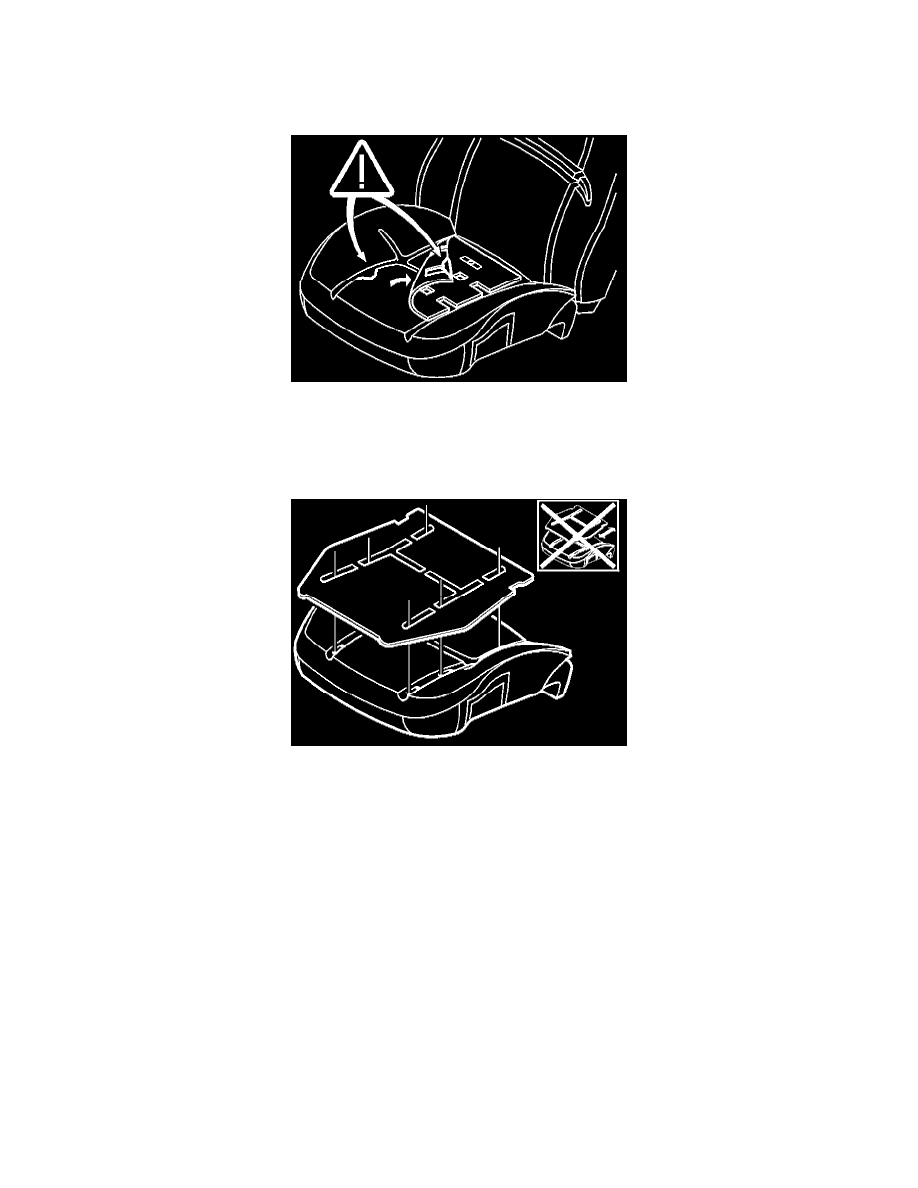
Positioning the heater pad
Caution! Ensure that the heater pad is correctly positioned so that the half moon clips can be secured clear of the heater elements and the
surface of the heater pad.
-Position the heater pad in the correct position. Do not remove the backing from the adhesive surfaces.
-
Secure one half of the heater pad.
-
Bend up the other half of the heater pad.
-
Pull the backing (or part of the backing) off the adhesive surface closest to the center of the section of the heater pad that is bent up.
-
Carefully bring the adhesive surface down onto the foam filling. Work with small sections at a time. Start from the center and work out towards the
edges.
-
Continue in the same way with the other adhesive surfaces.
Positioning in relation to the channels in the foam filling