
V70R AWD L5-2.3L Turbo VIN 52 B5234T6 (1998)
Back Window Glass: Service and Repair
REPLACING REAR WINDSHIELD 4-DOOR
REMOVING
-
Stop (brake) lamp.
-
Release upper edge of D-pillar panel to permit access to wiring connectors (the panel need not be removed).
-
Bend forward and disconnect windshield wiring connectors.
TAPE AROUND THE WINDSHIELD TO PROTECT THE PAINT.
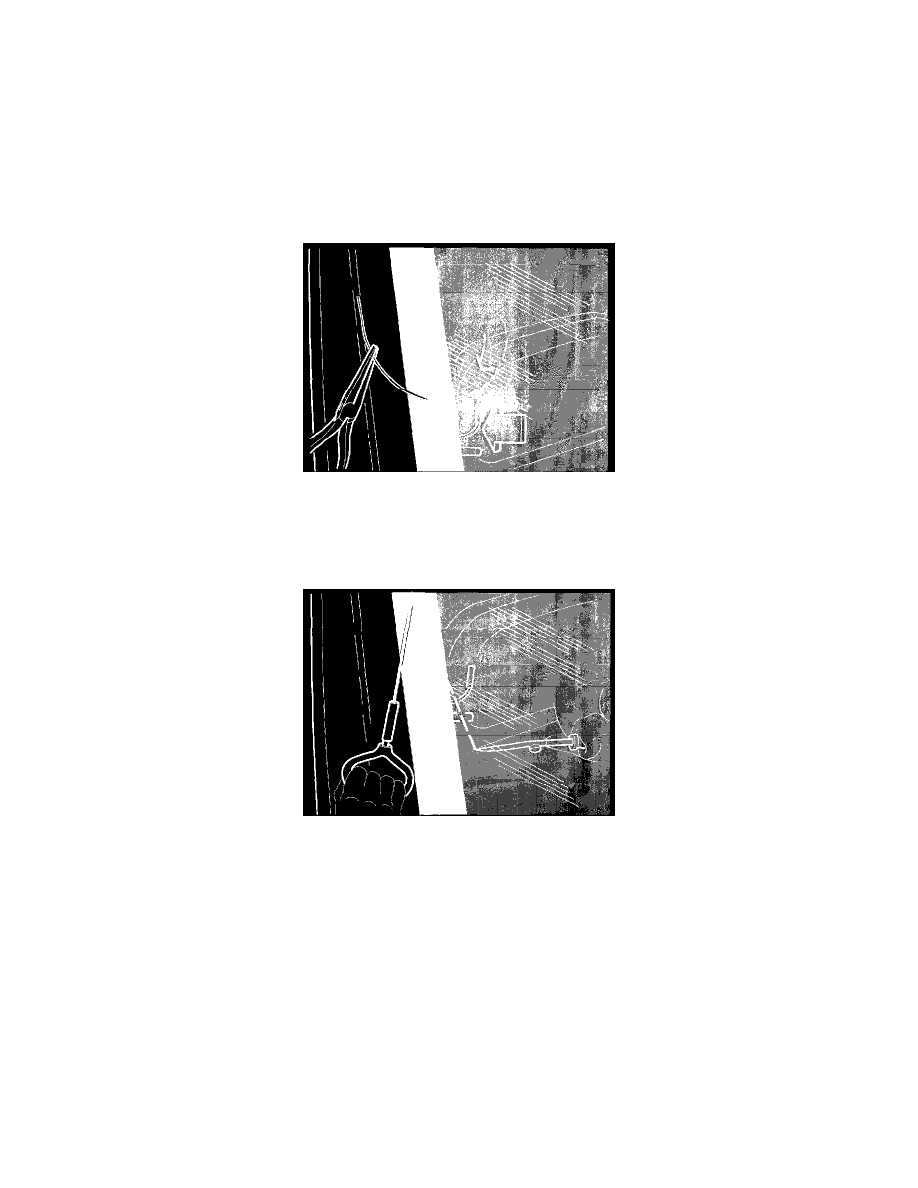
Use piano wire, handle and counterhold according to "Front Windshield Replacement".
Cut out the windshield.
-
Start in the top comer and cut down.
-
Reposition the wire for the comer when approximately 1/4 remains.
-
"Saw" around the corner.
-
Make sure that the wire does not catch on heated rear window terminal pins. Keep the piano wire under tension the whole time.
-
Pull with counterhold along lower edge Ensure that the wire is free of the parcel shelf metal clips.
-
Keep counterhold pressed against PUR adhesive at all times.
-
Attach suction pads to windshield. Lift it out and place on stand.
-
Leave PUR adhesive residue on body flange If the windshield is to be used again: Cut away PUR residues with a chisel.
INSTALLING
-
Clean existing PUR-bead with cleaner H.
-
Apply PUR/RIM-activator to the windshield encapsulation.
-
Prepare to install the window by applying tape vertically onto the bodywork to fix the window position when installing.
-
Apply suction pads to the windshield.
-
Apply PUR-adhesive to the windshield.
-
Bend electrical lead connectors back at right angles to window.
-
Align the windshield to the bodywork accurately.
-
Install and apply tape to windshield to secure it.
-
Remove suction pads Push window down by hand if any further height adjustment is required.
-
Connect electrical leads to rear window.
-
Install the stop (brake) lamp.