XC70 AWD L6-3.2L VIN 98 B6324S (2009)

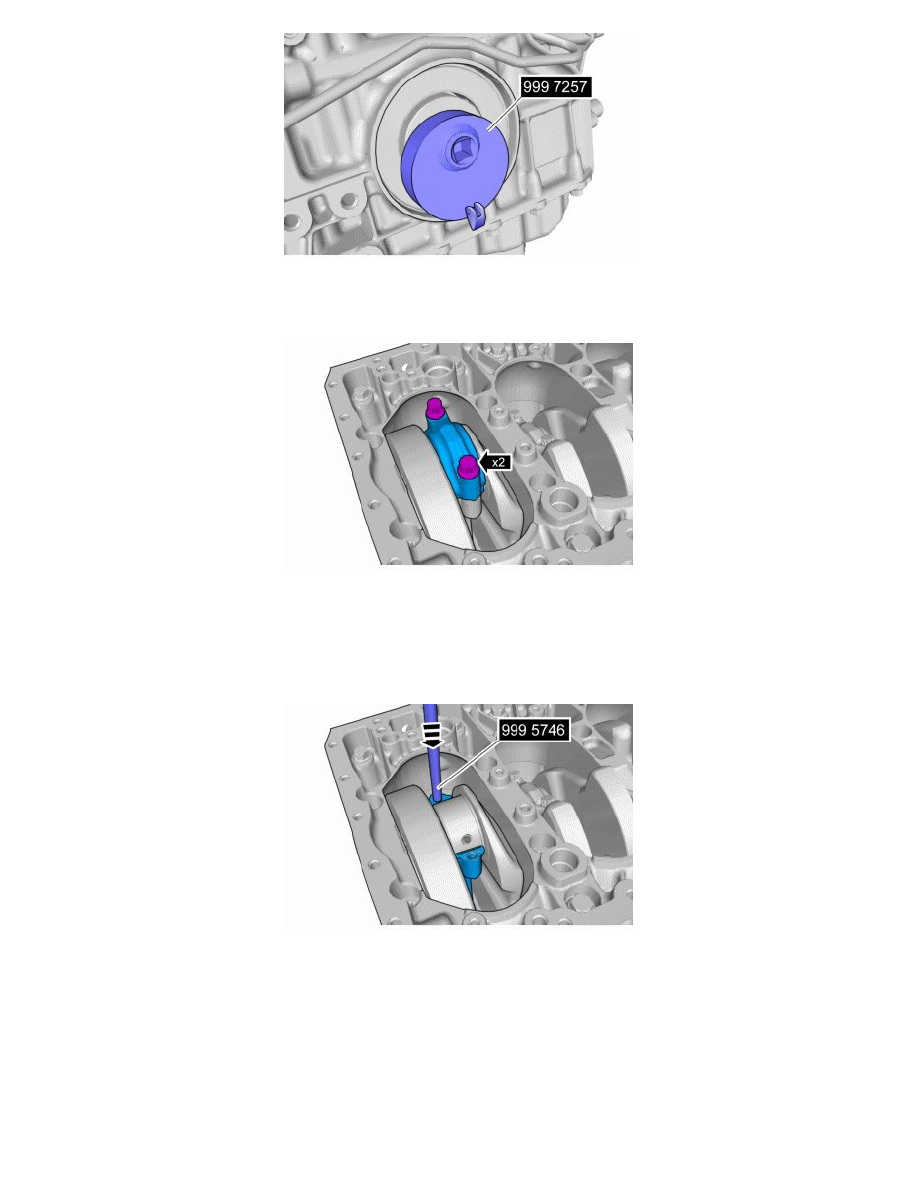
999 7257 Wrench See: Tools and Equipment/999 7257 Wrench
Turn the crankshaft so that the piston for cylinder 1 ends up in lower dead center (LDC). Check that there are markings on caps and connecting rods and
note which way the marking is located (exhaust/inlet side) Note this. Mark as needed.
Note! Note and mark the position of the components before removal.
Note! Make sure that components are installed according to instructions from removing.
Remove the screws for the connecting rod cover. Lift off the cover. Ensure that the bearing cover comes with it.
The contact face between the cap and connecting rod is not machined. The fit takes place using a clean fracture surface.
Note! Note and mark the position of the components before removal.
Note! Make sure that components are installed according to instructions from removing.
999 5746 Holder See: Tools and Equipment/999 5746 Holder
Install the tool in the connecting rod and press out the connecting rod/piston.
Hold your hand underneath so that the piston does not fall to the floor and make sure that the bearing half also comes out. Lay the piston with connecting
rod so it can be reinstalled in the correct cylinder. Continue with cylinder 2, 3, 4, 5, 6 as above.
