XC90 L5-2.5L Turbo VIN 59 B5254T2 (2004)

Installing removed components
Install:
-
the rubber mountings for the exhaust pipe
-
SIPS (side impact protection system ) member
-
the four screws for the SIPS (side impact protection system) member. Tighten to 24 Nm.
Install the four nuts and the screw holding the steering gear. Use new nuts and a new screw.
Tighten to 50 Nm.
Clip the cable in position.
Install:
-
the ball joints. Use new nuts. Tighten to 80 Nm. Counterhold using a Torx wrench so that the ball joint boot is not damaged
-
the anti-roll bar links. Use new nuts. Tighten to 50 Nm. Counterhold using a Torx wrench so that the boot is not damaged.
Install:
-
the lower torque rod. Tighten the two screws. Tighten to 10 Nm
-
the oil pipe for the steering gear from the snap fasteners along the sub-frame
-
the screw clip for the steering gear return line
-
any fuel line for engine block heater
-
the screw for the cable duct
-
the screw for the ground lead.
Installing the drive shaft
Install new screws on both sides. Use a screwdriver as a counterhold. Tighten to 35 Nm.
Angle-tighten 90 degrees. Use bevel protractor 951 2050.
Installing the skid plate
Move the skid plate up into the bumper wraparound.
Press forwards until the mounting brackets engage in the sub frame.
Install the screws. Tighten to 50 Nm.
Install the splashguard under the engine. Tighten to 24 Nm.
Installing the right-hand engine mounting
Install the right-hand engine mounting. Use new screws. Tighten to 35 Nm. Angle-tighten 90 degrees.
Fold the fender liner back into position.
Install:
-
the skid plate
-
the plastic nuts
-
the front wheels. See Installing wheels.
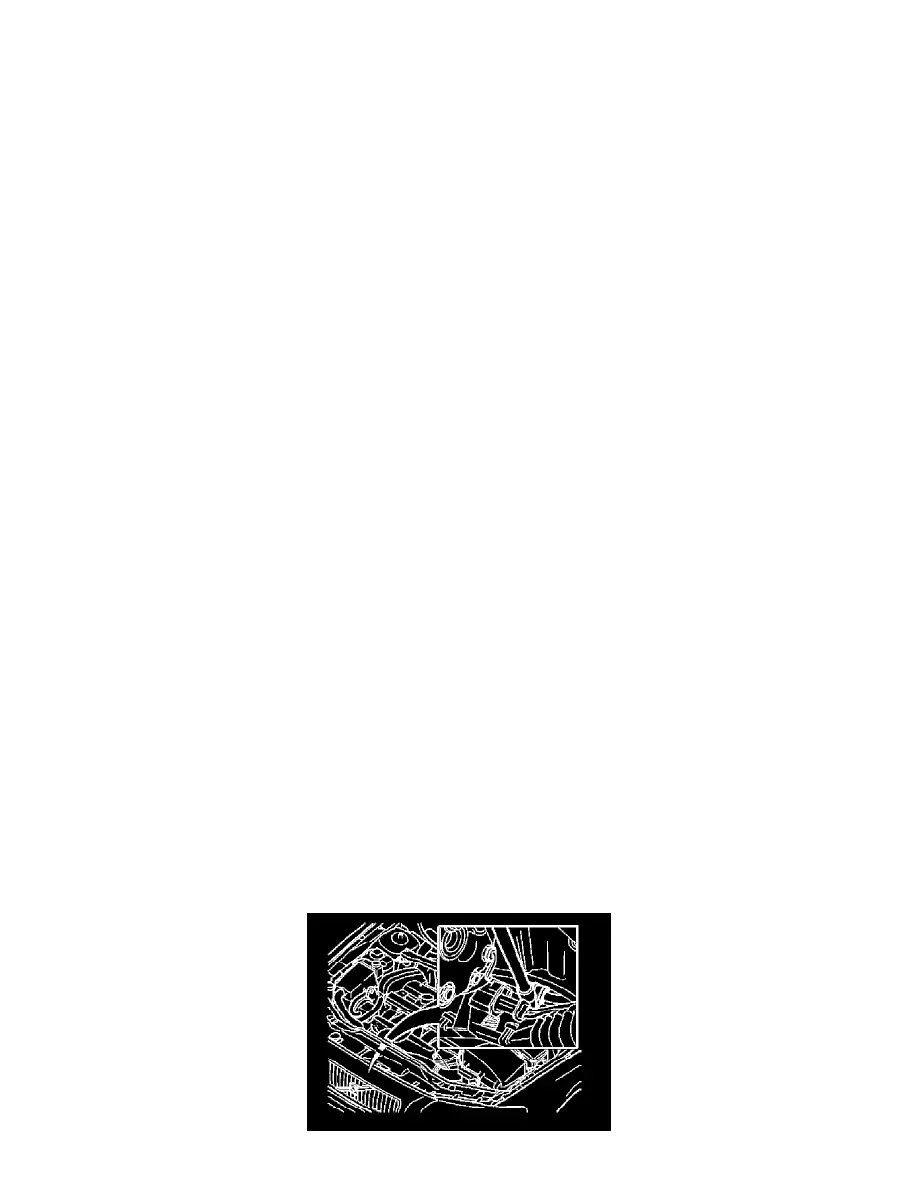
Installing the clamp for the servo pressure hose
