
XC90 L5-2.5L Turbo VIN 59 B5254T2 (2004)
-
the screws for the bracket.
Removing the spring
Install tensioner999 5659 Tension caliper See: Tools and Equipment/999 5659 Tension Caliper. See Tensioner 999 5659, User instructions See: Service
and Repair/User Instructions.
Note! The tensioner must be positioned as far out as possible on the tensioner plates to provide the correct lifting force.
Press the tensioner up approximately 25mm from the normal position.
Remove the screw from the lower mounting for the shock absorber.
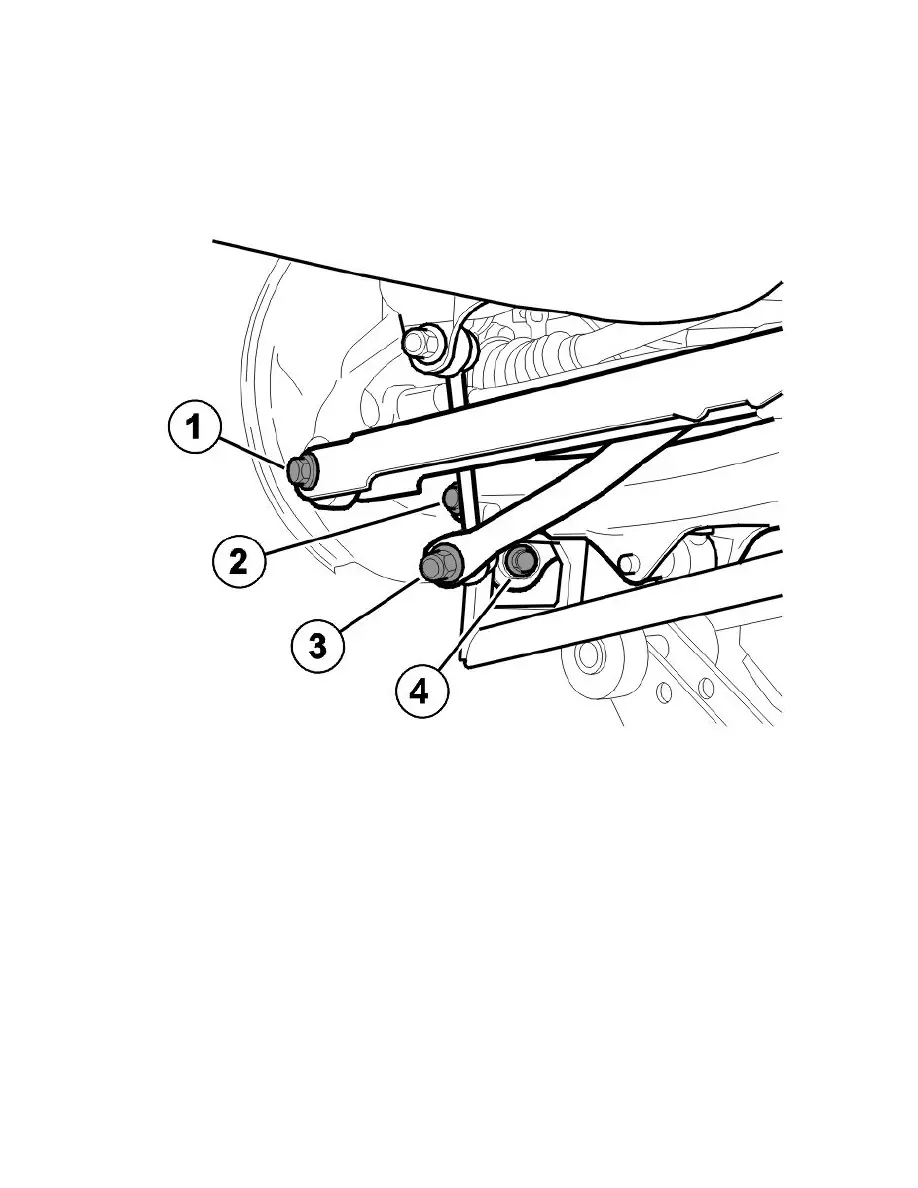
Remove:
-
the inner and outer screws for the tie rod
-
the tie rod (1)
-
the anti-roll bar link from the anti-roll bar (3). Use a Torx wrench as a counterhold so that the boot is not damaged
-
the screws for the lateral link (4)
-
the lateral link
-
the screw for the control arm in the wheel spindle (2).
Lower the control arm with the tensioner. The spring is now unloaded.
Remove tensioner999 5659 Tension caliper See: Tools and Equipment/999 5659 Tension Caliper. See Tensioner 999 5659, User instructions See:
Service and Repair/User Instructions.
Press the control arm down by hand.
Remove:
-
the spring
-
the screw for the inner mounting for the control arm in the sub-frame
-
the control arm.
Removing brake components