
XC90 AWD L6-3.2L VIN 98 B6324S (2007)
Remove the screws from the propeller shaft center bearing.
Slacken off the screws in the support for the center bearing on the right-hand side a few turns. Fully remove the screws on the left-hand side
Let the center support hang down so that the propeller shaft can be angled.
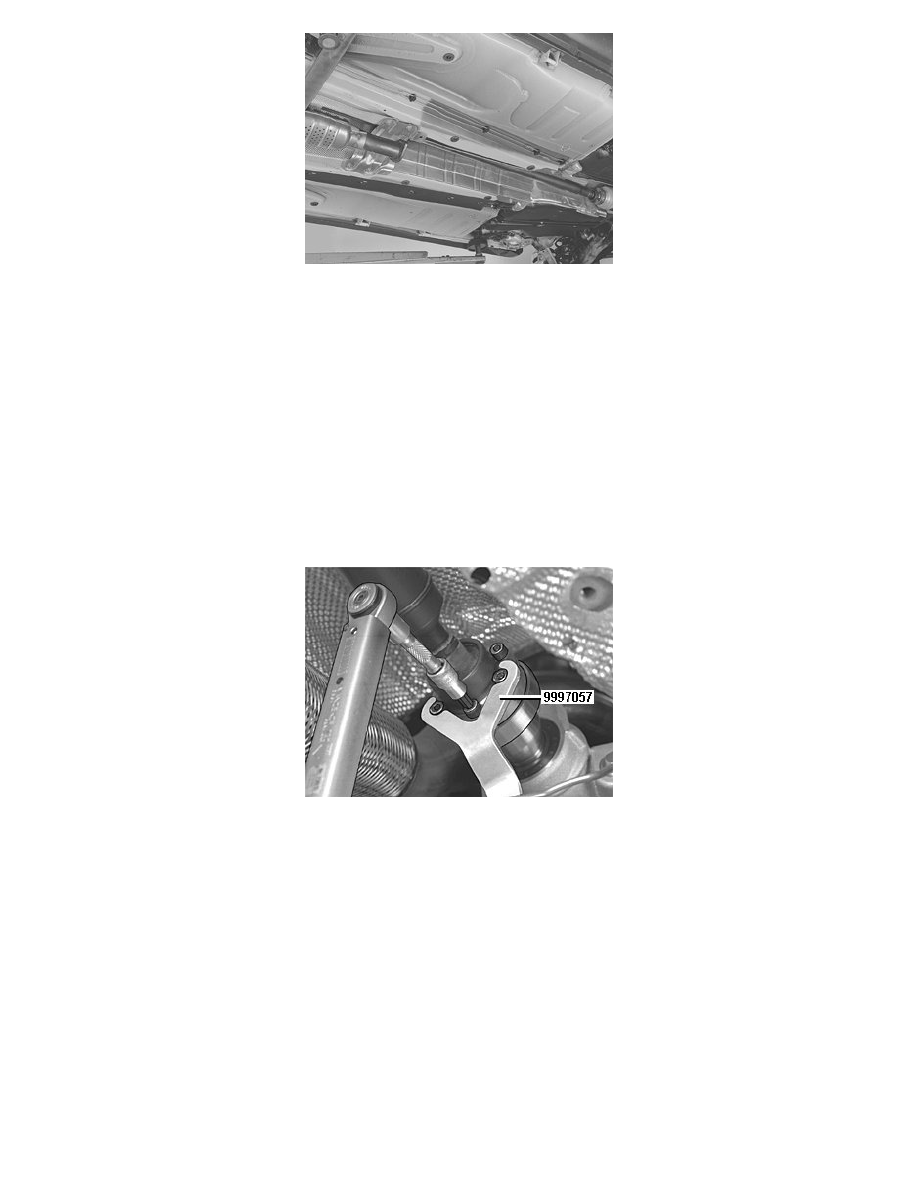
Remove the screw from the joint.
Press the shaft joints together, detach it from the flange.
Remove the shaft.
Installation
Note! For tightening torques, see Specifications See: Automatic Transmission/Transaxle/Specifications/Mechanical Specifications/Tightening
Torque.
Note! To ensure that there is no exhaust leakage, see Flanged joint, assembling See: Engine, Cooling and Exhaust/Exhaust System/Exhaust
Pipe/Service and Repair/Flanged Joint, Assembling.
Installing the propeller shaft, front
Check carefully that the mating surfaces on the propeller shaft and flange are clean.
Note! If the same propeller shaft is to be reinstalled, install the propeller shaft using the marking made earlier. See Removing the front
propeller shaft.
Tightening the propeller shaft CV joint
Use new screws.
Tighten the screws. See Tightening torque See: Automatic Transmission/Transaxle/Specifications/Mechanical Specifications/Tightening Torque.
Installing the propeller shaft, rear
Note! If the same propeller shaft is to be reinstalled, install the propeller shaft using the marking made earlier. See Removing the rear propeller
shaft.
Check carefully that the mating surfaces on the propeller shaft and flange are clean.
Align the propeller shaft CV joint against the flange.
Install the screws loosely in the support for the center bearing and the propeller shaft.