
XC90 FWD L6-3.2L VIN 95 B6324S5 (2011)
Exterior Moulding / Trim: Removal and Replacement
Components with double-sided tape
Note! Some variation in the illustrations may occur, but the essential information is always correct.
Removal of taped components
To remove taped components, use a hot-air gun in combination with a weatherstrip tool and manual force. Do not damage the underlying components or
paint.
Removal of tape residue
To remove the tape residue, the following is recommended:
-
mechanically; finger tip or nail
-
chemically; isopropanol/water 50/50 or white spirit + paper
-
tool; Grinder, T9512942.
Cleaning
Always clean the tape surface before application using a mixture of isopropanol/water 50/50 or paper towel, part no. 9192678-2.
Both the surface of the tape and components must be dry and free of dirt, grease, finger marks and water/condensation.
Installation of taped components
The following criteria must be met to reduce the risk of recurring repairs.
Ensure that:
-
the surfaces maintain a temperature of at least +20°C
-
the correct installation pressure is used on the taped components. The recommended pressure is approx. 35-50 N/cm2, which corresponds to
thumb pressure. (The surface of a pushed down thumb corresponds to approx. 1 cm2). Use scales to determine the correct application pressure.
Place your hand/thumb or application roller on the scales and press until the scales show between 3.5 and 5.0 kg. Remember that the palm of your
hand or application roller has a larger surface area than your thumb!
-
the tape is compressed to half its original thickness for 2-3 seconds to activate the tape adhesive and obtain a maximum application area.
-
that there are no gaps along the length of the tape. Do not pull the tape and try not to lift the taped components to check for any gaps. This results
in poor adhesion.
In the event of repeated tape slippage in the same place
Use cotton buds and clear paint primer part no. 1161 727.
Carefully lift the component at the point of tape slippage and apply the primer to the painted surface using a cotton bud.
The paint primer has an "open time". Press the component into place, at least 5 mins after applying the primer and within 30 mins.
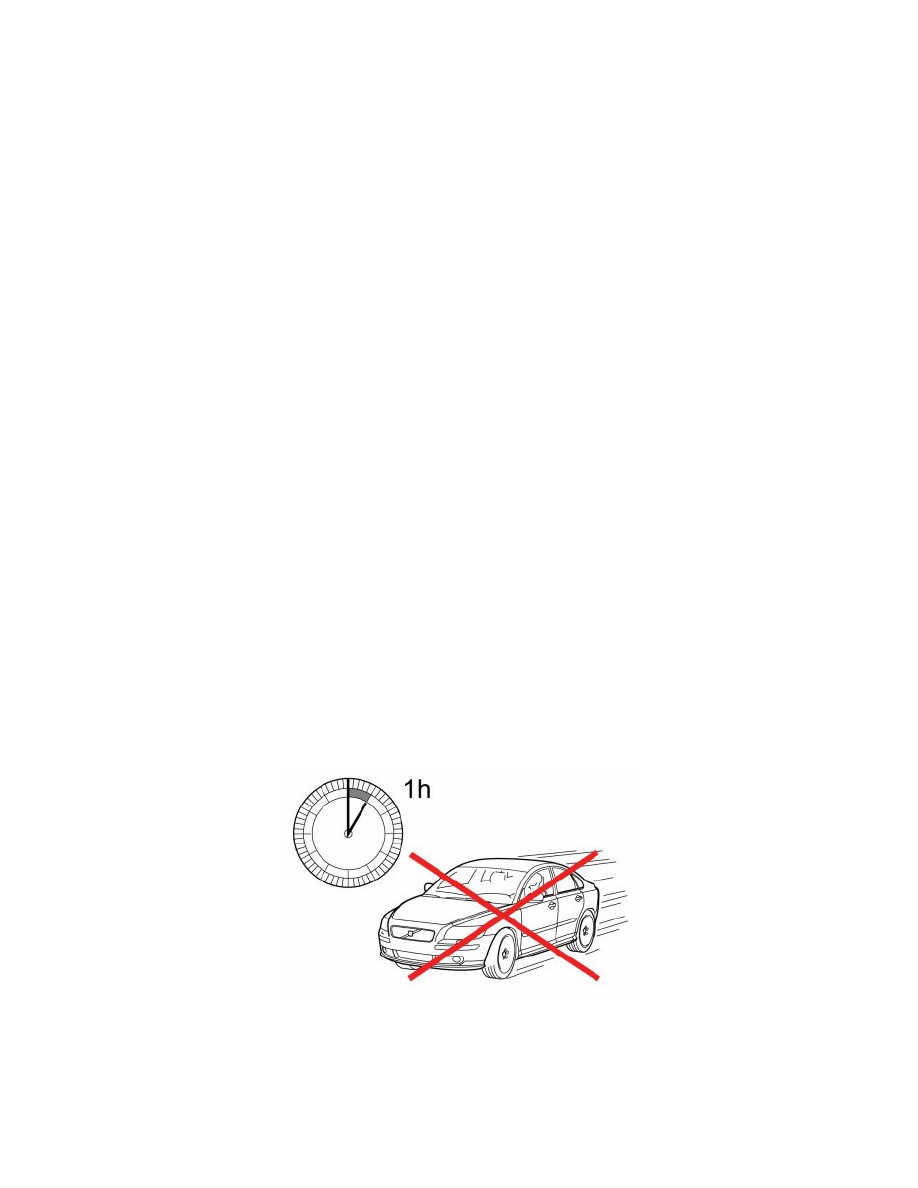
Do not drive the vehicle with the new components within 1 hour of application.