
XC90 FWD L6-3.2L VIN 98 B6324S (2007)
Evaporator Core: Service and Repair
Evaporator Rear, Replacing
Evaporator rear, replacing
The illustrations in this service information are used for different model years and / or models. Some variation may occur. However, the essential
information in the illustrations is always correct.
Preparations
Remove:
-
the rear climate control unit. See Climate control unit rear, replacing, R.H.D, L.H.D See: Housing Assembly HVAC/Service and Repair/Climate
Control Unit Rear, Replacing
-
the rear expansion valve. See Expansion valve rear, replacing, B8444S .
Note! Always plug the pipes and connections when working on the climate control system.
Removing the rear evaporator
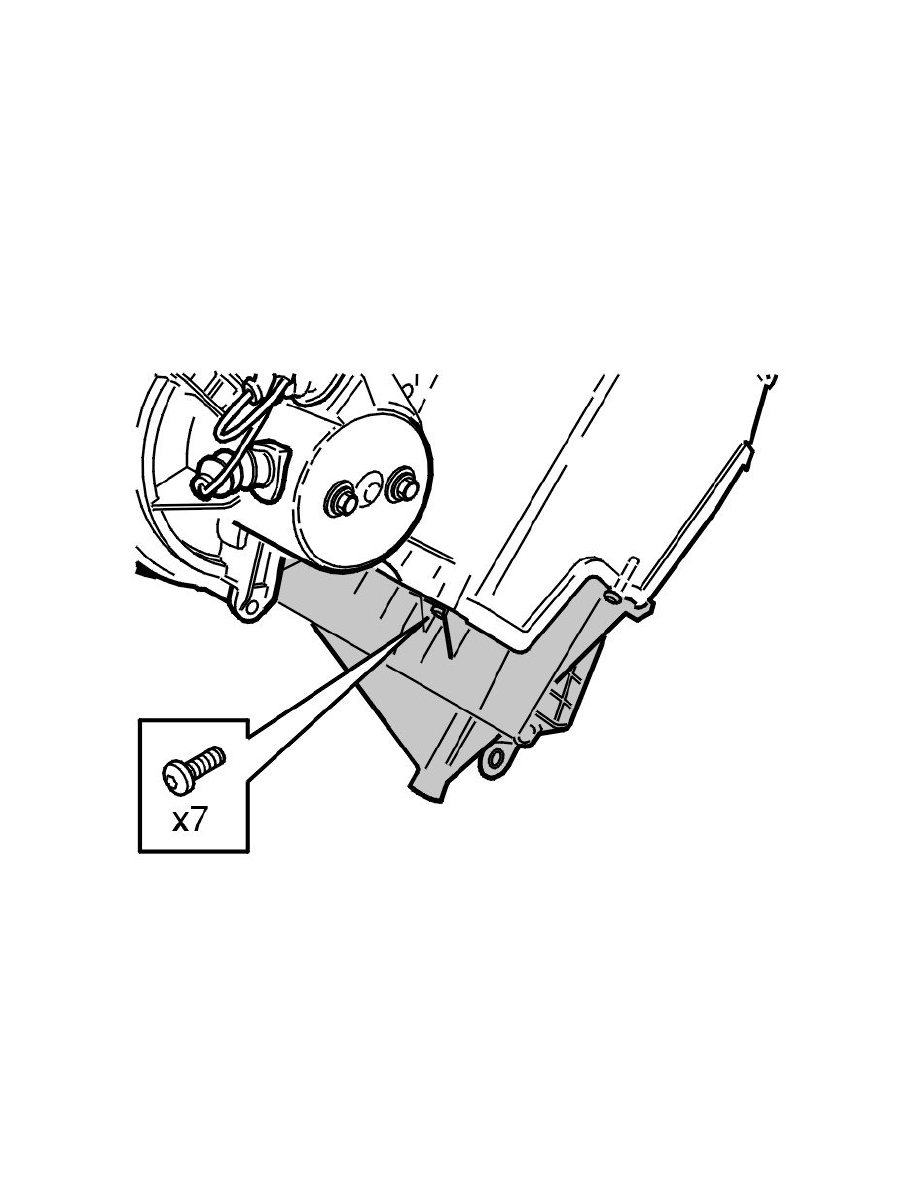
Remove the 7 screws (see the illustration) and the lower cover from the evaporator housing on the rear climate control unit.
Open the snap fastener in the cover. Pull the cover straight out.
Installing the rear evaporator
Ensure that the new insulation is correctly positioned on the evaporator. Also check the seal on the expansion valve.
Position the evaporator in the housing.
Install:
-
the lower cover so that the snap fastener is secure. Install the 7 screws
-
the rear expansion valve. See Expansion valve rear, replacing, B8444S
-
the rear climate control module (CCM). See Climate control unit rear, replacing, R.H.D, L.H.D See: Housing Assembly HVAC/Service and
Repair/Climate Control Unit Rear, Replacing.