
XC90 FWD L6-3.2L VIN 98 B6324S (2007)
Press in the valve slightly. Connect current to the solenoid.
The solenoid should click.
It may be easier to hear the click if the solenoid is held.
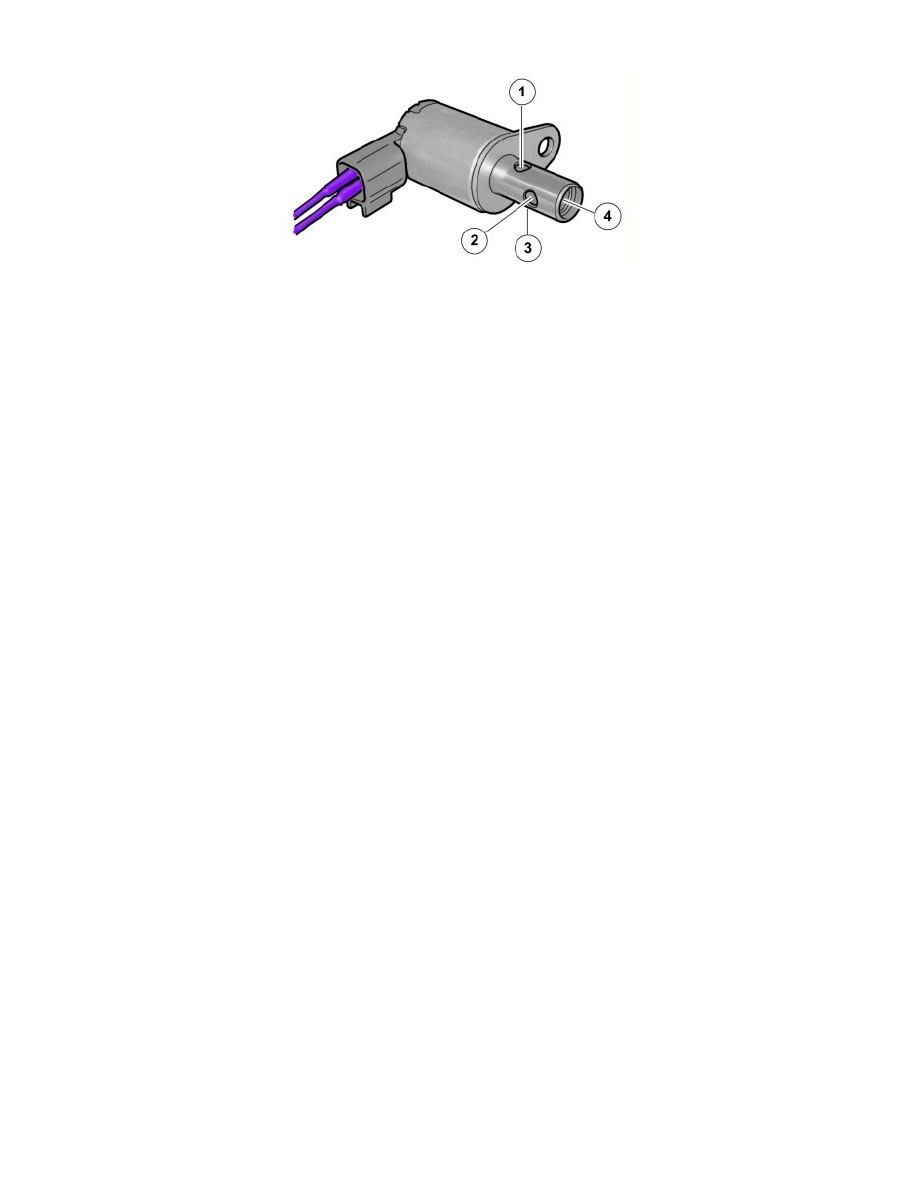
Blow compressed air into the A port (2). Air should come out through the oil feed hole (4).
Note that there may be some leakage at both return holes (1 and 3).
Use: Cleaner, 1161826 (EU), 1161828 (US)
Allow the cleaner to act for 5 minutes.
Blow compressed air into all holes from both directions and look for contamination. Carry this out with current on and off to ensure that no dirt remains
in the ducts.
Use: Cleaning agent, 1161721
Rinse with cleaner. Blow again.
Regrease the solenoid with engine oil to avoid sticking.
After cleaning, check the function by repeating steps 1 and 2.
If the solenoid still malfunctions after cleaning twice, replace the solenoid.
Installation
To install, reverse the removal procedure.
Erase DTCs and test drive the vehicle.
Check that no new DTCs have been stored.