XC90 FWD L6-3.2L VIN 98 B6324S (2007)

Press the infotainment unit into place on the bracket.
Install the screws. Tighten.
Connect the connectors.
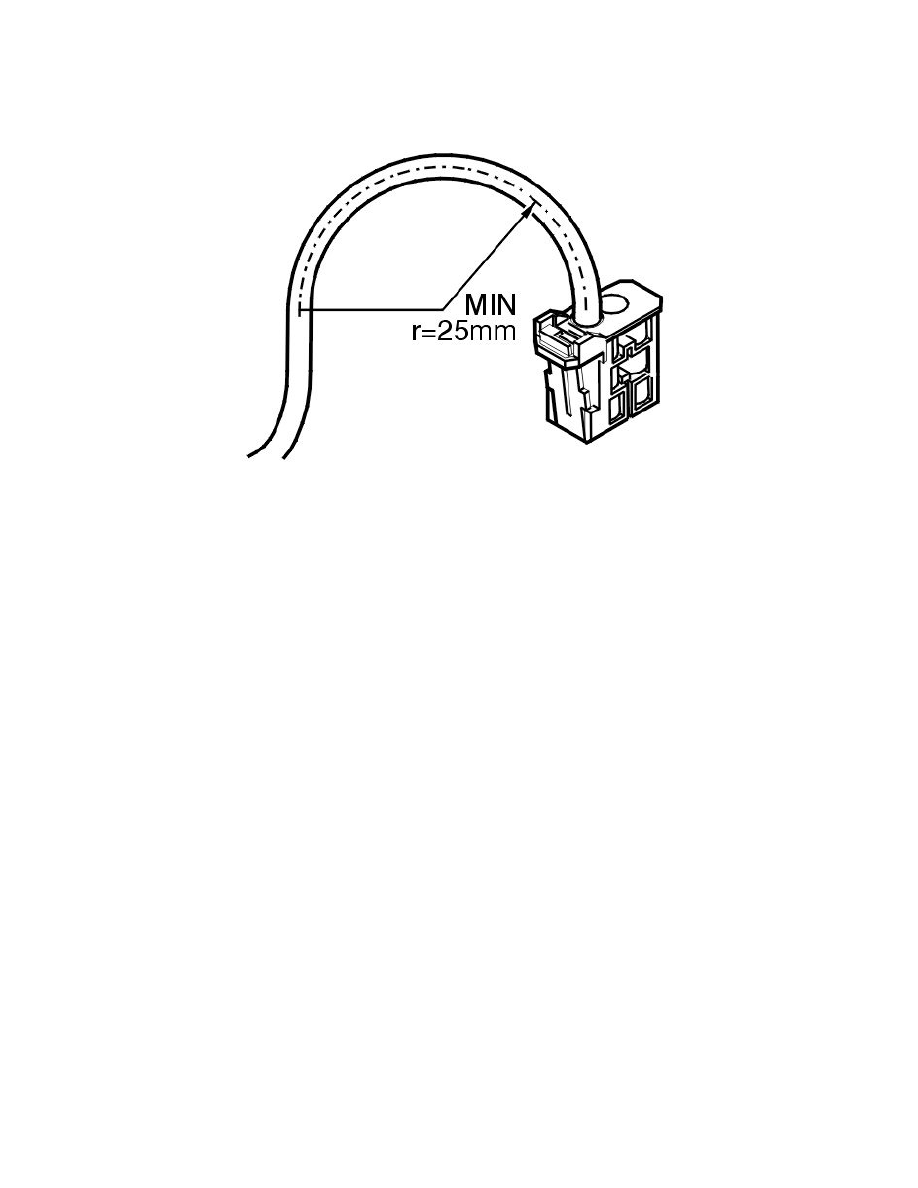
Note! The control module connectors are identical and can be shifted. Make sure that there is no dirt in the optic contacts. The optic cables
must not have a bend radius below 25 mm.
Angle in the infotainment / dashboard environment panel and bracket.
Hint: Align the upper section and press it upwards so that the lower section can be worked in.
Install:
-
2 screws in the lower edge of the bracket
-
the top of the tunnel compartment
-
the bolts, x6
-
the rear cover
-
the panel at the gear selector lever.
Ordering software
Order software for the control module. See: Testing and Inspection/Programming and Relearning/Software Downloading
