
XC90 FWD L6-3.2L VIN 98 B6324S (2007)
Remove:
-
the bolts to the subframe's brackets at the rear edge
-
the bolts to the subframe in the front and rear edge
-
the subframe's brackets.
Release the heated oxygen sensor (HO2S) cables from the anti-roll bar.
Remove the lower coolant hose from the bracket on the subframe.
Lower the subframe carefully. Release the oil pipes to the steering gear from the clips on the subframe.
Remove the bolt to the bracket holding the pressure pipe to the steering gear on the subframe.
Transferring the components.
Transfer the link arms on both sides.
Install:
-
the 2 x front screws to the control arms. Tighten. See: Tightening torque See: Steering/Specifications
-
the rear screw to the control arms. Tighten. See Tightening torque See: Steering/Specifications.
Transfer the anti-roll bar. Fit the bolts to the anti-roll bar, M10 x4.
Transfer the right-hand engine pad.
Fit the bolts to the engine pad, x2, in accordance with: Tightening torque, B8444S See: Engine, Cooling and Exhaust/Engine/Specifications/Mechanical
Specifications/Tightening Torque.
Install a new lower torque rod with the nuts. See Tightening torque, B8444S See: Engine, Cooling and Exhaust/Engine/Specifications/Mechanical
Specifications/Tightening Torque.
Install new pipe/hose holder. Transfer the bracket to the lower coolant hose. Install an M6 screw in the bracket.
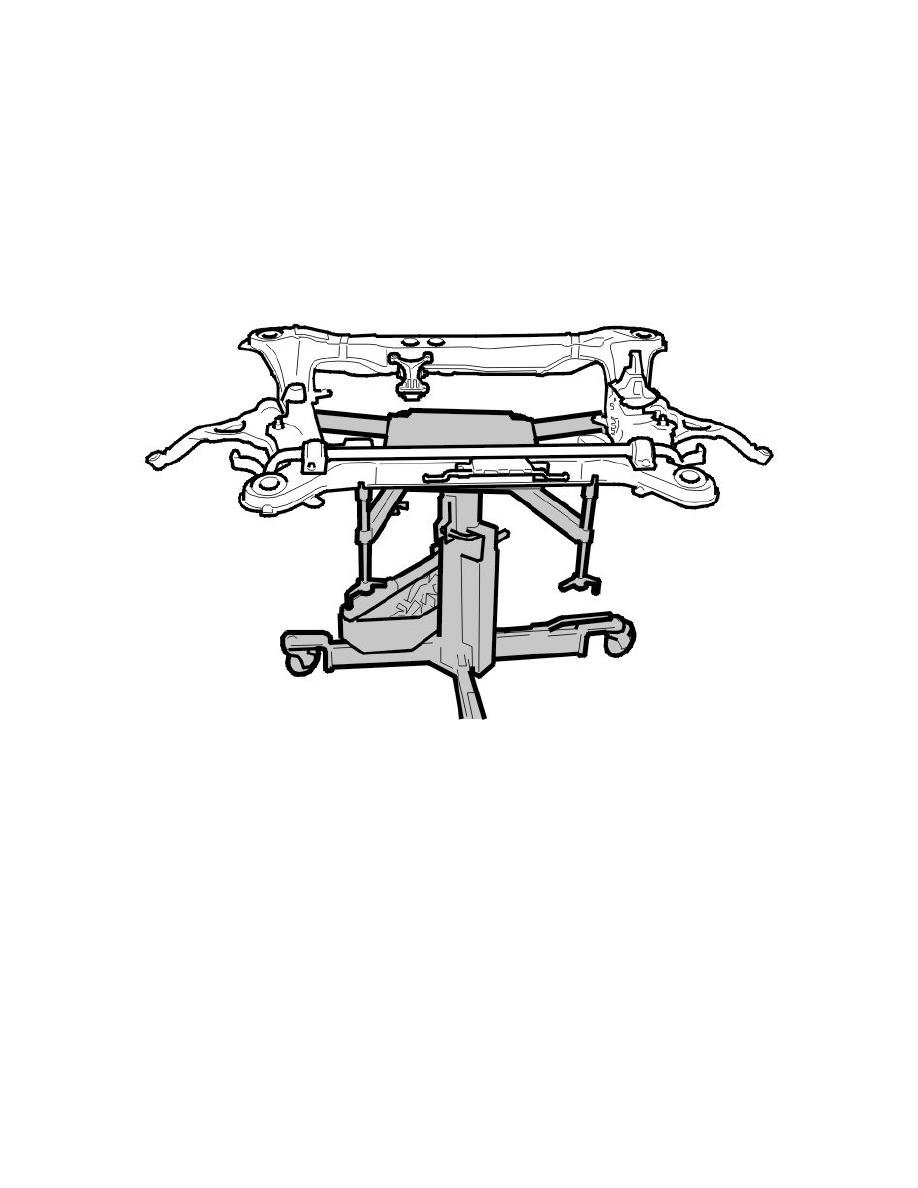
Installation
Installing the subframe
Caution! Ensure that no pipes or cables are loaded or trapped when raising the sub-frame.
Raise the subframe.
Install:
-
the oil pipes to the steering gear in the clips on the subframe