|
Switch to voltage measuring range 20 V
|
|
Test step
|
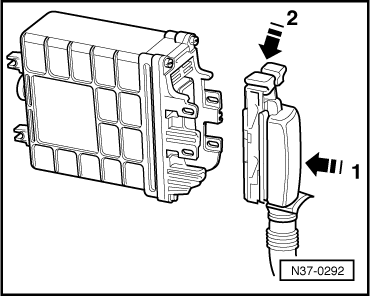
V.A.G 1598/18 sockets
|
Test of
|
▪ Test conditions
- Additional operations
|
Specified value
|
Rectifying fault
|
|
1
|
22 + 1
22 + 24
|
Supply voltage for control unit -J217-
(terminal 30)
|
▪ Ignition switched off
|
approx. battery voltage
|
- Check wiring using current flow diagram
Check wiring from contact 1 to earth
Check wiring from contact 22 to terminal 30 (central electrics)
Check battery, renew if necessary
Renew gearbox control unit -J217 if necessary => Page 01-20
|
|
2
|
6 + 1
|
Selector lever lock solenoid -N110-
|
▪ Ignition switched off
|
0 V
|
- Check wiring using current flow diagram
|
|
|
|
|
▪ Ignition switched on
|
approx. battery voltage
|
|
|
|
Bridge
6 + 1
|
|
- Disconnect test unit V.A.G 1526
▪ Ignition switched on
Connect bridge with cables from V.A.G 1594
|
Solenoid should click audibly
|
- Renew selector lever lock solenoid -N110-
|