
A3 Mk1
|
Removing and installing parts of the lubrication system
Removing and installing oil pan
|
 |
|
|
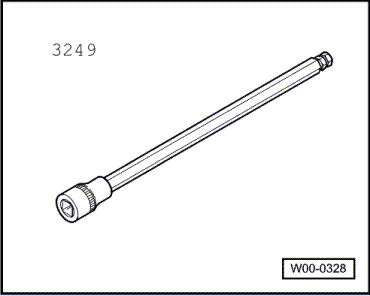
Special tools and workshop equipment required
=> Parts List |
 |
|
|
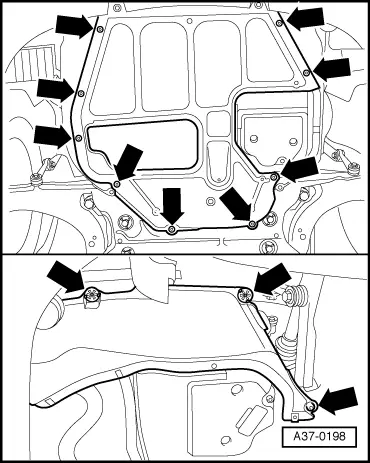
Removing
|
 |
|
|
 |
|
|
 |
|
|
 |
|
|
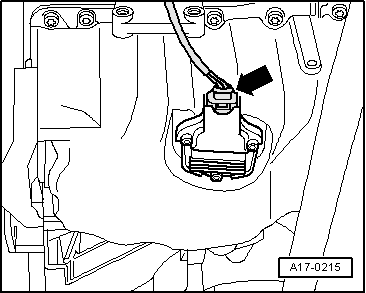
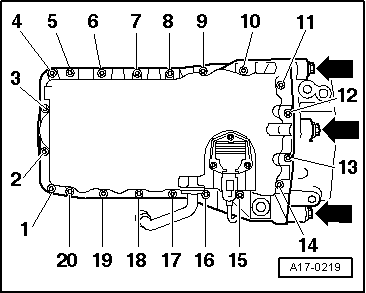
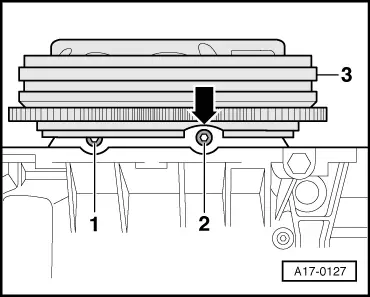
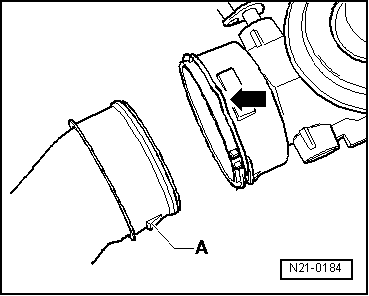
Note: → The two rear oil pan bolts -1- and -2- are accessible via the recess -arrow- on the flywheel -3- (turn the flywheel as required). |
 |
|
|
Note: The sump must be installed within 5 minutes after applying the silicone sealant.
|
 |
|
|
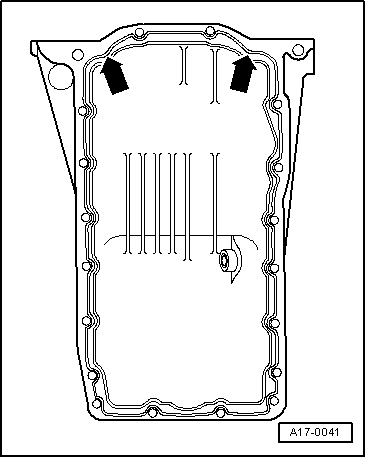
Note: The bead of sealant must not be thicker than 3 mm, as otherwise excess sealant will enter the sump and obstruct the strainer in the oil intake manifold.
Note: Be particularly careful when applying the bead of sealant around the rear sealing flange (arrows in illustration). |
 |
|||||||||||||
Tightening torques
|