audi Workshop Repair Guides

Audi Workshop Service and Repair Manuals

Removing and installing fuel gauge sender I (-G) > < Removing and installing fuel delivery unit
Fuel supply system - Diesel engines
Fuel supply system - four-wheel drive
Testing fuel gauge sender

Note:

 
W00-0431

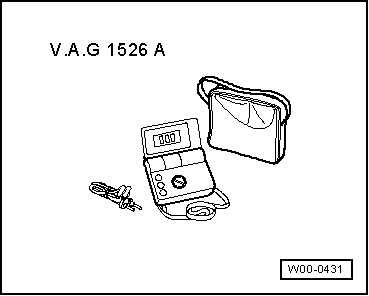
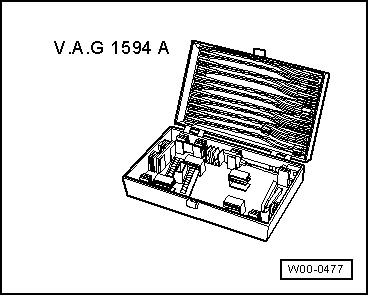
Testing signal from fuel gauge sender:

=> Electrical system; Repair group 90

Special tools and workshop equipment required
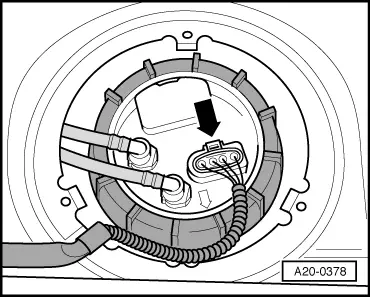
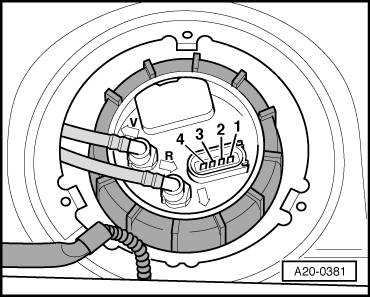
  • ◆ V.A.G 1526 A

 
W00-0477
  • ◆ V.A.G 1594 A

Test sequence

 
A20-0378
  • ‒ Fold down rear seat bench.
  • ‒ Detach cover for flange on fuel tank under rear seat bench (right side).
  • ‒ Fold back floor covering under rear seat bench.
  • ‒ → Release and unplug electrical connector -arrow-.

 
A20-0381
  • ‒ → Connect multimeter (resistance range) between contacts 2 and 3.
    • ‒ Specification:
      between 59 ω (tank empty) and approx. 282 ω (tank full)
  • ‒ If the resistance is 0 ωor ∞ ω, this means there is a short circuit or an open circuit in the wiring in the tank.

Note:

In order to test the maximum and minimum resistance values for "tank full" and "tank empty", remove the fuel delivery unit and move the floats of the two senders all the way to their top or bottom positions.

When the fuel gauge sender is removed, the arm of the float will travel further and the specifications are:

Sender removed from tank

Sender at top position

Sender at bottom position

Fuel gauge sender -G
(at fuel delivery unit)

approx.
147 ω

approx.
29 ω

Fuel gauge sender II
-G169

approx.
140 ω

approx.
27 ω

Removing and installing fuel gauge sender I (-G) > < Removing and installing fuel delivery unit