audi Workshop Repair Guides

Audi Workshop Service and Repair Manuals

Servicing front drive shaft with constant velocity joint > < Slackening off and tightening collared bolt of drive shaft bolted joint
Running gear, Front-wheel drive and four-wheel drive
Servicing front drive shafts
Removing and installing drive shafts
 
W00-0008

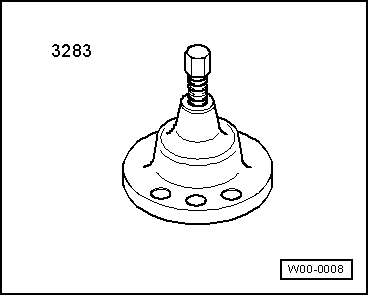
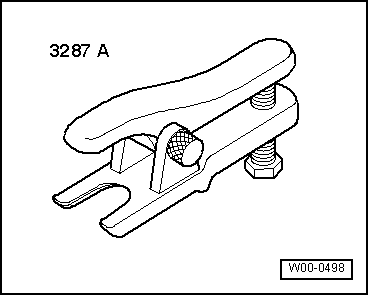
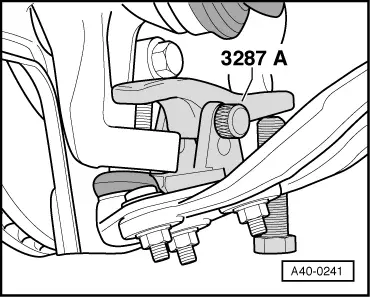
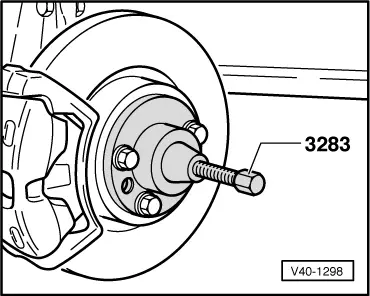
Special tools and workshop equipment required

  • ◆ Pressing-out tool 3283

 
W00-0498
  • ◆ Ball joint puller 3287 A (Audi S3 only)

Removing

  • ‒ Unfasten drive shaft bolted joint on wheel end.
    • ‒ Procedure for unfastening twelve-point nut
    • ‒ Procedure for slackening off hexagon collared bolt => Page 40-139
  • ‒ Remove wheel.
  • ‒ Unscrew drive shaft from gearbox flange.
 
N40-0057

Audi A3:

  • ‒ → Screw out bolts -arrows- at ball joint.
 
A40-0230

Audi S3:

  • ‒ → Unscrew nut -arrow-.

 
A40-0241
  • ‒ → Apply ball joint puller 3287 A to ball joint as shown.

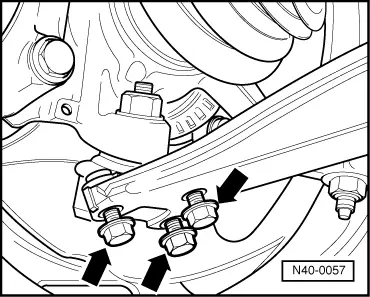
Note:

Leave nut screwed several turns onto ball joint to protect thread.

  • ‒ Press ball joint out of wheel bearing housing.
Attention:
On pressing out, ball joint is abruptly released from wheel bearing housing and can be a source of danger.
 
V40-1298

All models:

  • ‒ → Apply pressing-out tool 3283 and press drive shaft out of wheel bearing housing.

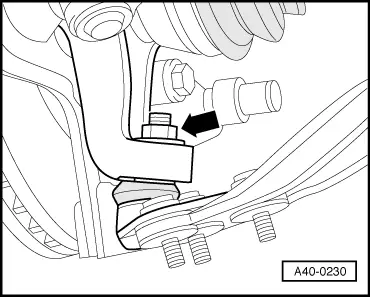
Note:

Ensure adequate clearance when pressing out drive shaft.

 
A40-0131

Vehicles with automatic gearbox:

  • ‒ → Screw out bolts -arrows-.
 
A40-0132
  • ‒ → Use tyre iron to press engine/gearbox assembly in direction of travel -arrow-.

All models:

  • ‒ Take out drive shaft.

 
A40-0131

Installing

Install in reverse order, paying attention to the following:

Vehicles with automatic gearbox:

  • ‒ → Screw on pendulum support at subframe -arrows-.
  • ‒ Use new bolts for attachment.

All models:

  • ‒ Insert drive shaft in wheel bearing housing.
  • ‒ Install ball joint => Page 40-28.
  • ‒ Place inner joint of drive shaft in position and pre-tighten bolts diagonally to 10 Nm.
  • ‒ Diagonally finish-tighten multi-point socket head bolts to stipulated torque.
  • ‒ Tighten drive shaft bolted joint on wheel end.
    • ‒ Procedure for tightening twelve-point nut => Page 40-135
    • ‒ Procedure for tightening hexagon collared bolt => Page 40-139

Tightening torques

Component

Nm

Pendulum support to subframe

20 + 90°1)2)

Drive shaft

M8

40

to flange shaft

M10

70

    1)    Replace bolts

    2)    90°corresponds to quarter turn

Perform wheel alignment on Audi A3 after installation.

Servicing front drive shaft with constant velocity joint > < Slackening off and tightening collared bolt of drive shaft bolted joint