audi Workshop Repair Guides

Audi Workshop Service and Repair Manuals

Removing and installing subframe - Audi S3 > < Replacing wishbone bonded rubber bushes - Audi S3 with recessed bush
Running gear, Front-wheel drive and four-wheel drive
Servicing front suspension
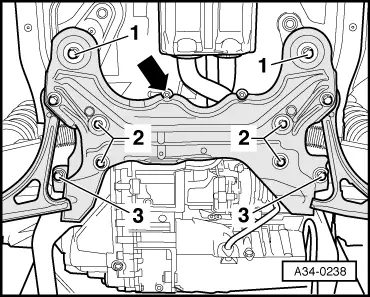
Removing and installing subframe - Audi A3
 
W00-0120

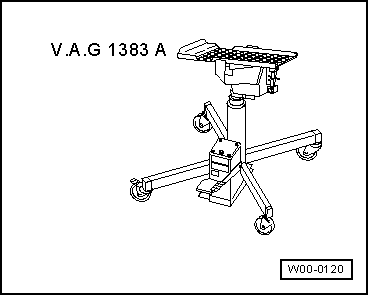
Special tools and workshop equipment required
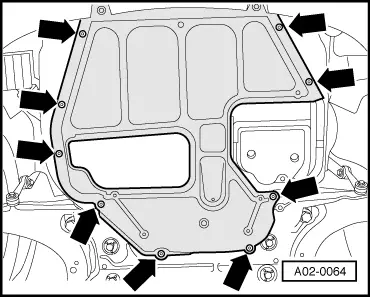
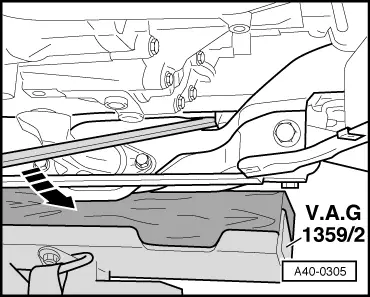
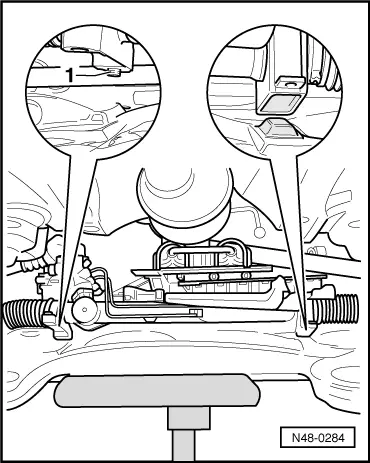
  • ◆ Engine/gearbox lifter V.A.G 1383 A

 
A02-0064

Removing

  • ‒ Unscrew both front wheels.
  • ‒ → If necessary, remove centre noise insulation -arrows-.
  • ‒ Unfasten noise insulation on left and right side at subframe.
  • ‒ Unfasten headlight range control unit at wishbone on left
    .
 
A10-0923

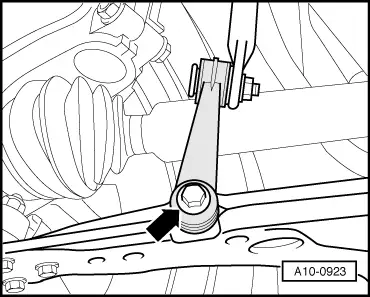
Front-wheel drive vehicles:

  • ‒ → Unscrew connecting links on left and right at wishbone -arrow-.

 
A10-1141

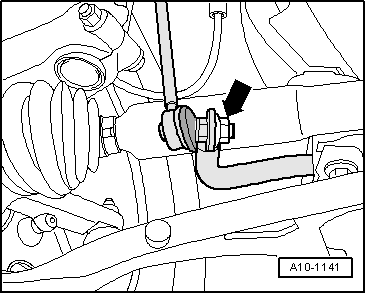
Four-wheel drive vehicles:
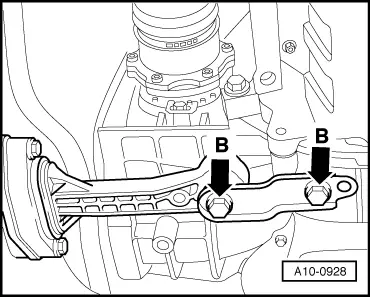
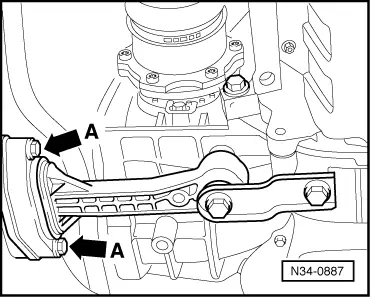
  • ‒ → Unscrew connecting links on left and right of anti-roll bar -arrow-.
 
N40-0057

All models:

  • ‒ → Screw out bolts -arrows- at ball joint on left and right.
  • ‒ Unscrew drive shaft on left and right from gearbox flange.
  • ‒ Use wire to tie drive shafts to body.

 
N34-0712
  • ‒ → First screw out bolts -A-, then bolts -B- of pendulum support.
  • ‒ Detach pendulum support.
 
A34-0238
  • ‒ → If fitted, disengage rubber mount at front exhaust pipe -arrow-.
  • ‒ Screw out bolts -2- for steering box.

 
A40-0305
  • ‒ → Prise steering box off subframe (dowel sleeve) -arrow-.
  • ‒ Unscrew holder for power steering pressure pipe on left of subframe.
  • ‒ Position engine/gearbox lifter V.A.G 1383 A with universal mount V.A.G 1359/2 and wooden block beneath subframe.
 
A34-0238
  • ‒ → Screw out bolts -1- and -3- for subframe.
  • ‒ Carefully lower subframe.

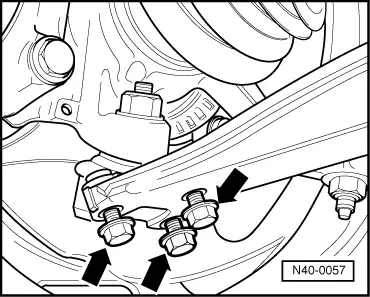
Note:

When lowering, pay attention to side noise insulation and holder for hydraulic pipes on left side.

 
N48-0284

Installing

Install in reverse order, paying attention to the following:

  • ‒ Install subframe as follows:
    • ‒ Move subframe to installation position and screw it on hand-tight using new bolts.
    • ‒ Position steering box on subframe and fit steering box bolts.
    • ‒ → Threaded sleeve -1- must be positioned in hole in subframe
    • ‒ Rubber insert on opposite side must be positioned on corresponding projection on subframe
    • ‒ Screw on steering box .
 
A10-0928
  • ‒ → Screw on pendulum support at gearbox -arrows B-.
  • ‒ Use new bolts for attachment.

 
N34-0887
  • ‒ Press engine/gearbox assembly towards bulkhead.
  • ‒ → Screw on pendulum support at subframe -arrows A-.
  • ‒ Use new bolts for attachment.
  • ‒ Check correct positioning of sealing collar at steering box pinion.
  • ‒ Install ball joints => Page 40-28.
  • ‒ Screw on drive shafts at gearbox flange => Page 40-146.

Tightening torques

Component

Nm

Subframe to body

100 + 90° 1)2)

Steering box to subframe

20 + 90°1)2

Pendulum support to subframe

20 + 90°1)2)

Pendulum support to gearbox

40 + 90° 1)2)

Holder for power steering pressure pipe to subframe


23

Connecting link to wishbone (FWD)

15 + 90° 1)2)

Connecting link to anti-roll bar (4WD)

90

    1)    90°corresponds to quarter turn

    2)    Replace nuts/bolts

Perform wheel alignment after installation.

Removing and installing subframe - Audi S3 > < Replacing wishbone bonded rubber bushes - Audi S3 with recessed bush