audi Workshop Repair Guides

Audi Workshop Service and Repair Manuals

Replacing subframe bonded rubber bushes > < Exploded view of subframe with final drive
Running gear, Front-wheel drive and four-wheel drive
Servicing rear axle - Four-wheel drive vehicles
Removing and installing subframe with final drive
 
W00-0120

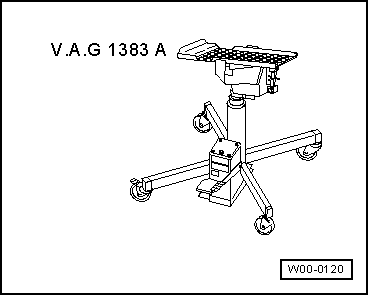
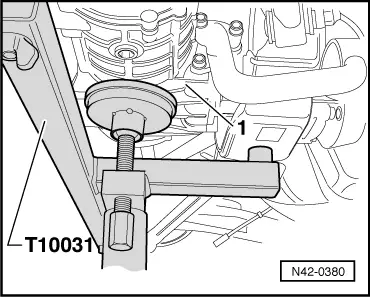
Special tools and workshop equipment required
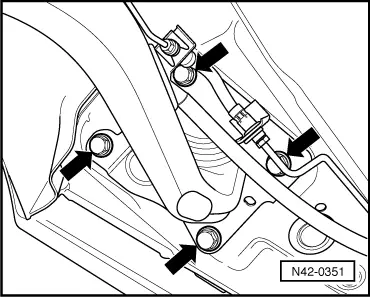
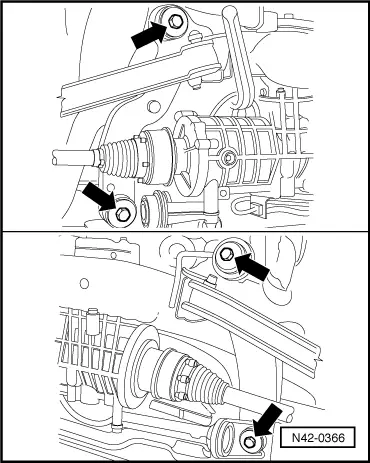
  • ◆ Engine/gearbox lifter V.A.G 1383 A

 
W00-0722
  • ◆ Mount T10031
 
V26-0733

Removing

  • ‒ Remove spring .
  • ‒ Remove wheels.
  • ‒ → Separate exhaust system at clamp -arrows-.
  • ‒ Remove rear section of exhaust system.

=> Engine, Mechanics; Repair Group 26

Note:

To avoid damage, decoupling element of exhaust system is never to be kinked by more than 10 °.

 
A39-0272
  • ‒ → Unscrew rear heat shield and exhaust system bracket -arrows-.
 
N42-0363
  • ‒ → Use paint to mark position of rear propshaft tube at final drive flange -arrows-.
  •     1 -    Propshaft with vibration damper
  •     2 -    Flange for propshaft

 
A39-0281
  • ‒ → Unscrew rear propshaft tube with flexible coupling and vibration damper from rear final drive -arrows-.
 
N42-0212
  • ‒ → Disengage handbrake cable at brake caliper.
  • ‒ Pull handbrake cable out of trailing arm.

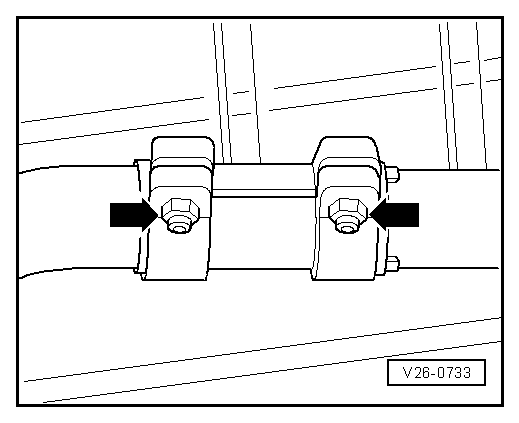
Note:

Handbrake cables need not be pulled out of trailing arm if subframe is merely to be lowered.

 
N42-0334
  • ‒ → Unclip speed sensor wire from holder -arrow-.
 
N45-0146
  • ‒ → Screw out bolt -1-.
  • ‒ Pull speed sensor out of trailing arm.

 
N42-0404
  • ‒ → Disconnect brake pipes at bolted joint -arrow- (seal pipes with plugs).
 
N42-0339
  • ‒ → Screw out lower shock absorber bolt -arrow-.
  • ‒ Unplug connectors and disconnect vacuum pipes.

 
N42-0380
  • ‒ → Position engine/gearbox lifter V.A.G 1383 A with mount T10031 beneath rear axle -1-.
 
N42-0367
  • ‒ → Insert pins -arrow- and -1- in subframe holes.

 
N42-0351
  • ‒ Mark installation position of mounting bracket on body.
  • ‒ → Unscrew mounting bracket from body -arrows-.
 
N42-0366
  • ‒ → Screw out subframe bolts -arrows-.
  • ‒ Use engine/gearbox lifter V.A.G 1383 A to slowly lower subframe.
  • ‒ Set down propshaft on heat shield.

Installing

Install in reverse order, paying attention to the following:

  • ‒ Tighten bolts for subframe and mounting brackets at marked installation position.
  • ‒ Install springs => Page 42-62.
  • ‒ Fit shock absorbers => Page 42-68.
  • ‒ Fit propshaft.
  • ‒ Fit propshaft.

=> 5-speed Manual Gearbox 02C Four-wheel Drive/Final Drives; Repair Group 39

=> 5/6-speed Manual Gearbox 02M Four-wheel Drive/Final Drives; Repair Group 39

  • ‒ Install exhaust system and perform stress-free alignment.

=> Engine, Mechanics; Repair Group 26

  • ‒ Fill and bleed brake system.

=> Brake System; Repair Group 47

Tightening torques

Component

Nm

Subframe to body

110 + 90° 1)2)

Mounting bracket to body

75 2)

    1)    90°corresponds to quarter turn

    2)    Replace bolts

Perform wheel alignment after installation.

Replacing subframe bonded rubber bushes > < Exploded view of subframe with final drive