| t
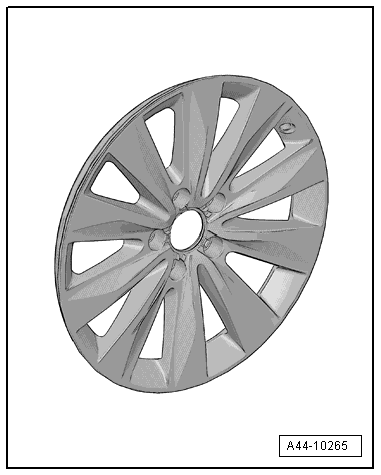
| The wheel trim cannot be renewed. |
| –
| Rotate the wheel and tyre on the wheel balancer. |
| –
| Check that the indicator lines on the sidewall of the tyre near the rim flange run evenly. |
| –
| Check that the body of the tyre runs evenly while the wheel and tyre are rotating. |

Note | If one-sided wear, flat spots from braking or severe erosion is apparent, balancing will not be able to achieve smooth running. In this case, the tyre must be renewed. |
| –
| Check the true running of the wheel and tyre. If the wheel and tyre do not run true although there are no flat spots on the tyre, this may be due to radial or lateral run-out. |
| –
| Check the wheel and tyre for radial and lateral run-out. |
| –
| If radial and lateral run-out are within the specified tolerance, balance the wheel and tyre. |

Note | t
| The weight used per wheel should not exceed 60 grams. |
| t
| If a larger weight is required, you can possibly achieve smoother running by "match mounting" the tyre and rim. "Match mounting" tyres → Chapter. |
| t
| The wheel balancer display should indicate 0 grams. |
| –
| Bolt the wheel to the vehicle. |

Caution | On vehicles with ceramic brakes the wheel must not be allowed to drop onto the brake disc. This would cause irreparable damage to the disc. When removing or fitting a wheel, screw the long assembly pin into the top wheel bolt hole (12 o'clock position) in place of the wheel bolt, and screw the short pin into one of the other holes to support the wheel. The wheel can then slide along the assembly pins when fitting or removing it. |
|
| –
| First hand-tighten the lowest wheel bolt to about 30 Nm. |
| –
| Then tighten the remaining wheel bolts to about 30 Nm (in diagonal sequence). This process centres the wheel on the hub. |
| –
| Lower vehicle onto its wheels. |
| –
| Now use a torque wrench to tighten the wheel bolts to the specified torque in diagonal sequence. |

Note | t
| If you detect vibration during the road test, this may be due to tolerance in the wheel centring. |
| t
| In unfavourable circumstances, the component tolerances of wheels and hubs could cumulate. This too can lead to vibration. This vibration can be eliminated by using a finish balancer. |
|
|

|
 Note
Note Note
Note Note
Note Note
Note
 Note
Note Note
Note Note
Note Note
Note