
A4 Mk1
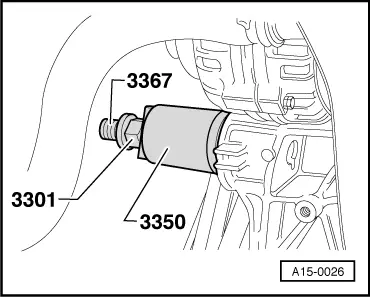
| Removing and installing viscous fan bearing |

| Special tools and workshop equipment required |
| t | Assembly tool -3301- |
| t | Assembly tool -3350- |
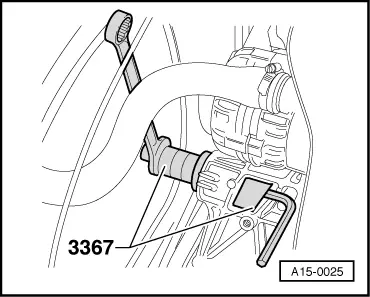
| t | Viscous fan fitting tool -3367- |
 Note
Note
|
|
|
|
|
|
|
|
|
|
|
|
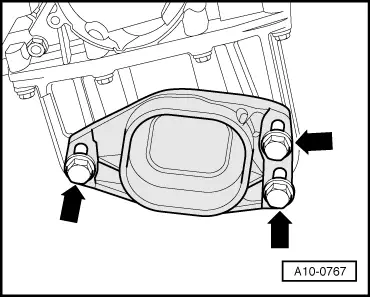
| Component | Nm | |
| Support for intake manifold to: | Bracket for ancillaries | 20 |
| Intake manifold | 20 | |
| Stop for torque reaction support to sump | 28 | |
| Hose clips for air hoses | 3.5 | |