
A4 Mk1
|
Suspension strut
Removing and installing suspension strut
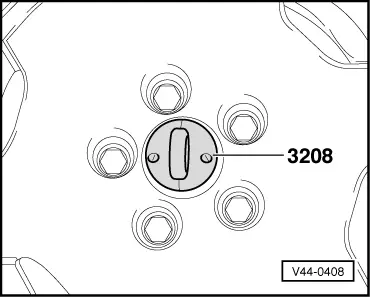
Special tools and workshop equipment required
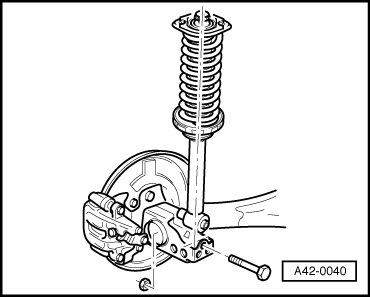
Removing |
 |
|
|
 |
|
=> General Body Repairs, Interior; Repair Group 72; Rear seat |
 |
|
Note: In addition to bolted joint, there are four retainer tabs for engaging suspension strut in position on body.
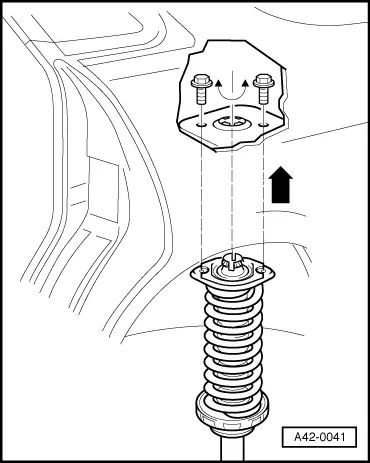
Installing Install in reverse order. Replace seal on upper spring plate. Thoroughly clean sealing surfaces. Use new hexagon bolt and hexagon nut for attaching suspension strut to axle beam. Note: On installation, make sure retainer tabs are properly engaged.
Bolted joint for shock absorber at rear axle must be secured with vehicle standing on its wheels. Otherwise, bonded rubber bush would be subject to torsion and its service life shortened. Tightening torques => Page 42-1 |