DeVille DHS V8-4.6L VIN Y (2000)

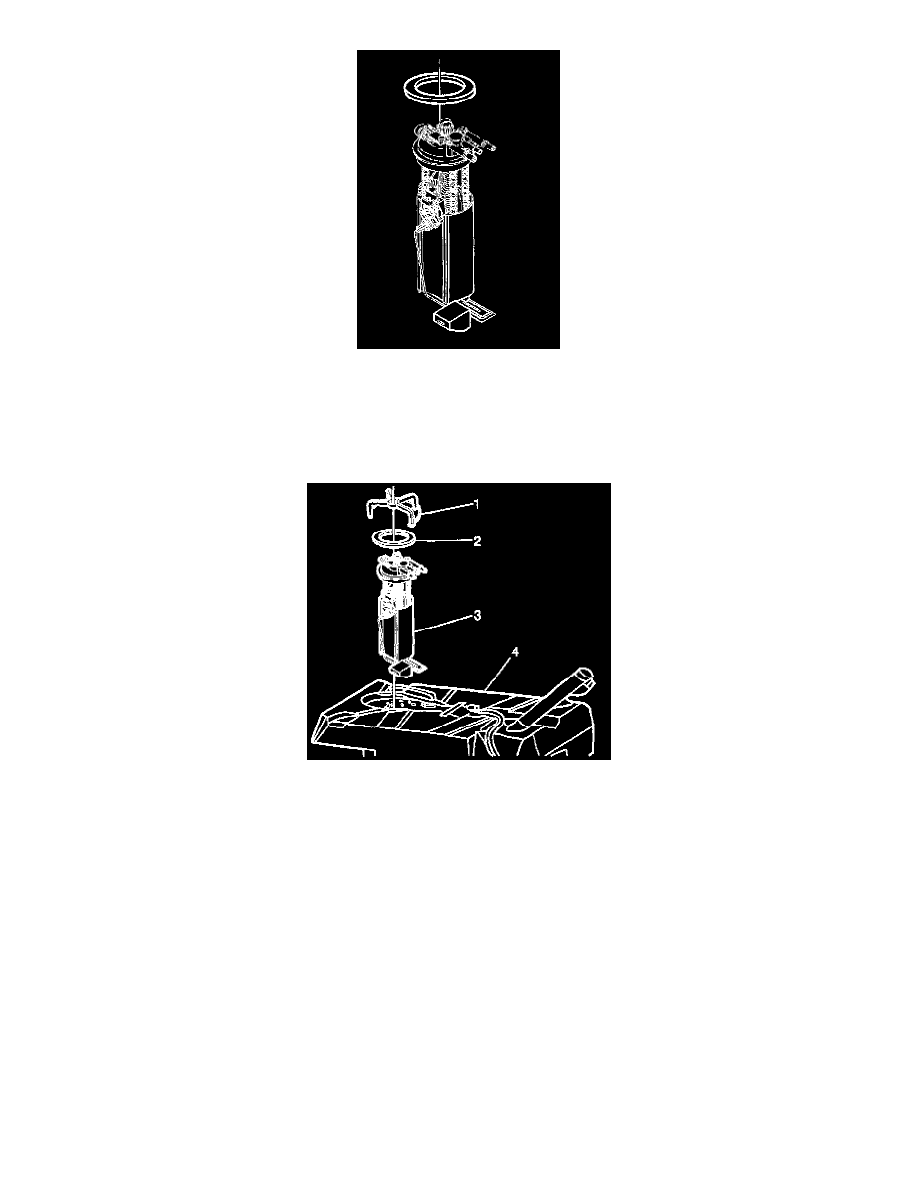
1. Position the new fuel sender assembly O-ring on the fuel tank.
IMPORTANT: Care should be taken not to fold over or twist the fuel pump strainer when installing the fuel sender assembly, as this will restrict fuel
flow.
2. Also, assure that the fuel pump strainer does not block full travel of float arm.
3. Reinstall the fuel sender assembly (3) and the fuel sender assembly retainer cam (2) using the J39765(1).
4. Install the quick-connect fittings at the fuel sender assembly.
5. Connect the electrical connector at the fuel tank pressure sensor.
6. Connect the electrical connector at the fuel sender assembly.
7. Connect the negative battery cable.
8. Inspect for leaks.
8.1. Turn the ignition switch ON for 2 seconds.
8.2. Turn the ignition switch OFF for 10 seconds.
8.3. Turn the ignition switch ON.
8.4. Check for fuel leaks.
NOTE: Refer to Fastener Notice in Service Precautions.
