
DeVille DHS V8-4.6L VIN Y (2000)
Fuel Tank Unit: Service and Repair
Fuel Sender Assembly Replacement
REMOVAL PROCEDURE
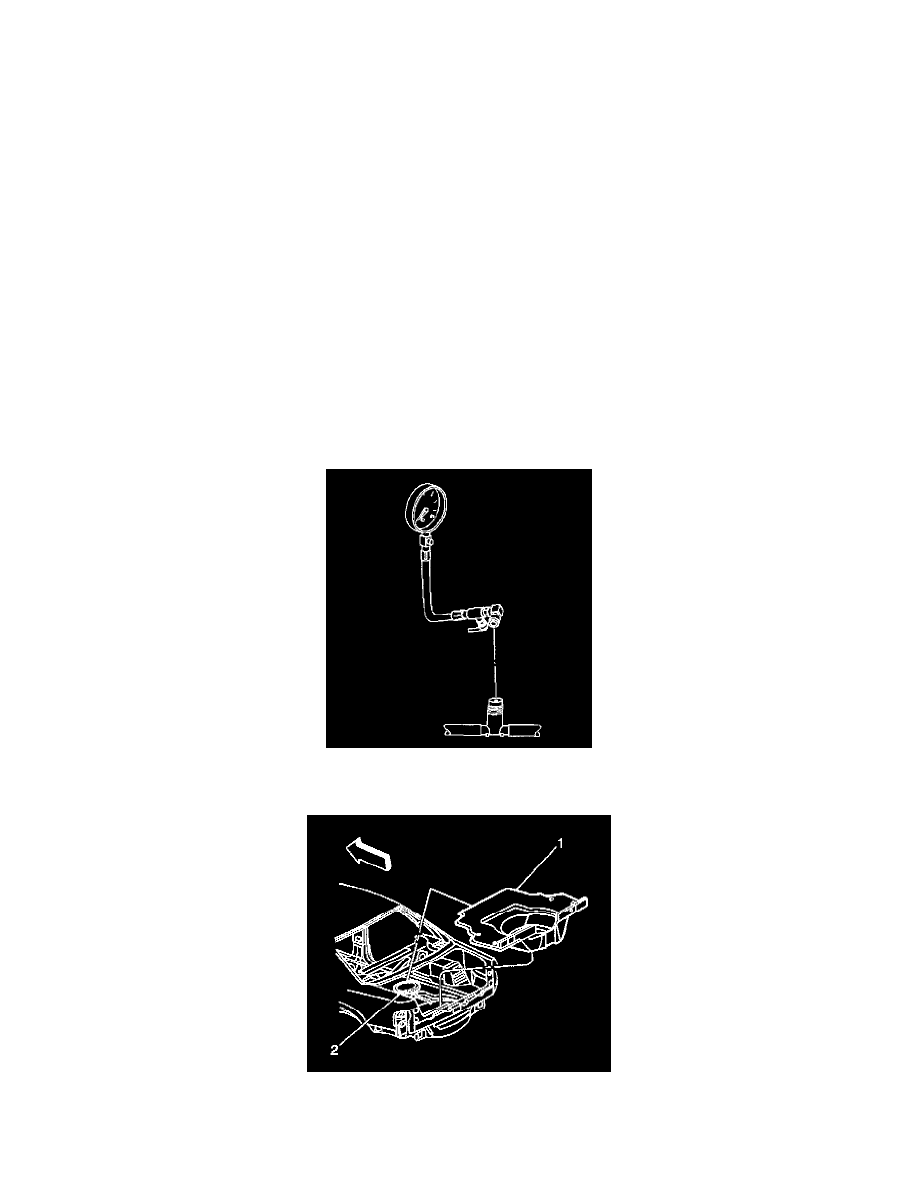
TOOLS REQUIRED
^
J34730-1A Fuel Pressure Gauge
^
J 39765 Fuel Sender Locknut Wrench
CAUTION
^
Gasoline or gasoline vapors are highly flammable. A fire could occur if an ignition source is present. Never drain or store gasoline or
diesel fuel in an open container, due to the possibility of fire or explosion. Have a dry chemical (Class B) fire extinguisher nearby.
^
Refer to Safety Goggles and Fuel Caution in Service Precautions.
^
Drain the fuel tank to at least 3/4 of a tank before removing the fuel sender retaining ring or fuel sender access panel in order to avoid
possible fuel spillage. Failing to follow this procedure could result in personal injury.
NOTE: Clean all of the following areas before performing any disconnections in order to avoid possible contamination in the system:
^
The fuel pipe connections
^
The hose connections
^
The areas surrounding the connections
NOTE: Refer to Fuel Sender Assembly Damage By Fuel Pipe Notice in Service Precautions.
IMPORTANT: Always replace the fuel sender O-ring when reinstalling the fuel sender assembly.
1. Relieve the fuel system fuel pressure. Refer to the Fuel Pressure Relief Procedure. See: Fuel Filter/Fuel Pressure Release/Service and Repair
2. Drain the fuel tank to at least 3/4 of a tank full. Refer to Fuel Tank Draining Procedure. See: Fuel Tank/Service and Repair/Procedures
3. Remove the spare tire cover, the jack, and the spare tire.
CAUTION: Remove the rear compartment floor trim to provide technician contact with the vehicle's metal surfaces. Failure to remove the