
DeVille DTS V8-4.6L VIN 9 (2002)
Trunk / Liftgate Latch: Service and Repair
Latch Replacement - Rear Compartment Lid
Removal Procedure
1. Open the rear compartment lid.
2. Remove the rear compartment lid trim panel. Refer to Compartment Lid Trim Replacement - Rear (See: Trunk / Liftgate Interior Trim
Panel/Service and Repair/Compartment Lid Trim Replacement - Rear) .
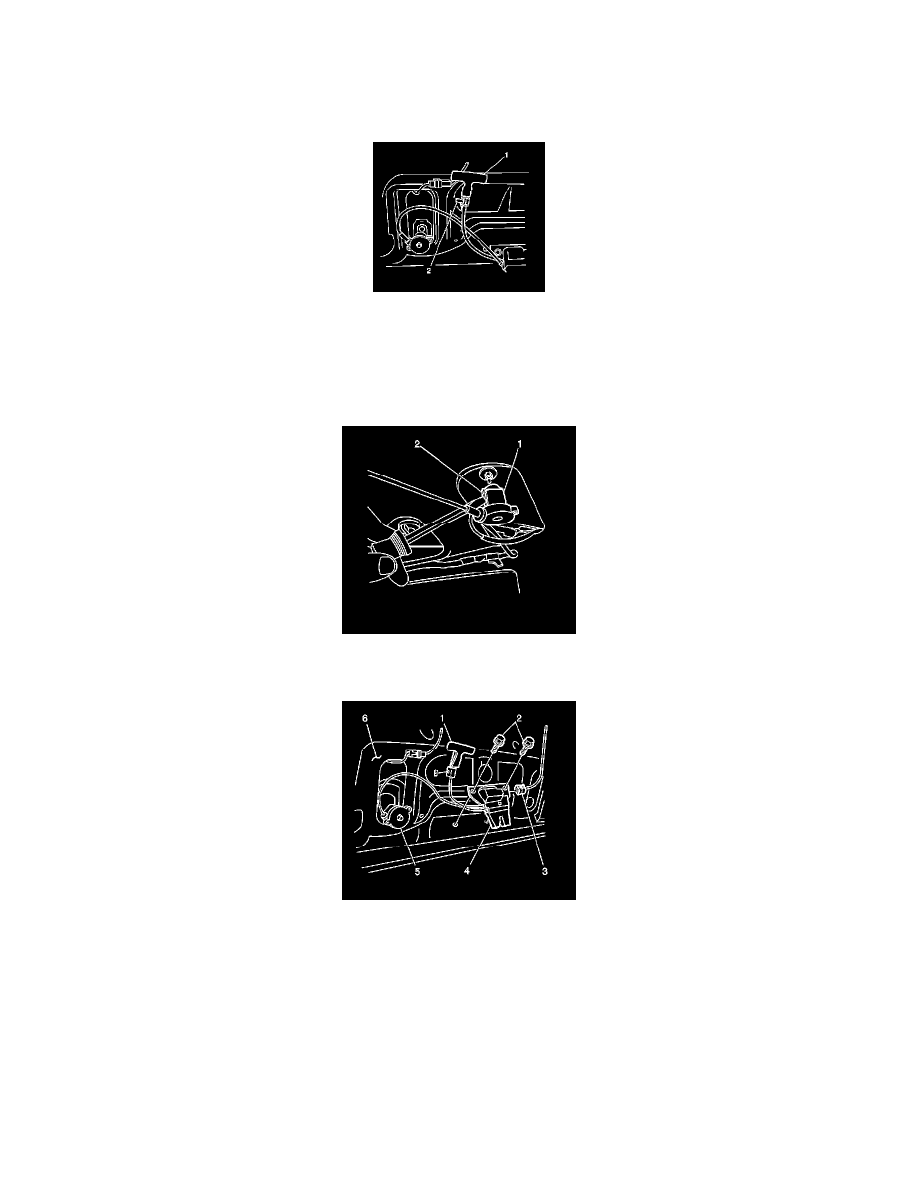
3. Release the locking tab (2) on the rear compartment interior release handle retainer.
4. Slide the release handle retainer out of the rear compartment lid "T" slot, in the in order to remove the rear compartment lid interior release handle
(1).
5. Remove the lock cylinder latch release cable from the rear compartment lid lock cylinder.
6. Release the locking tabs (1, 2) on each side of the lock cylinder in order to remove the cable from the rear compartment lid lock cylinder.
7. Disconnect the electrical connector (3) from the rear compartment lid latch (4).
8. Remove the fasteners (2) securing the rear compartment lid latch (4) to the rear compartment lid (6).
9. Remove the rear compartment lid latch (4) and release cable (1, 5) assemblies from the rear compartment lid (6).
Installation Procedure