
SRX AWD V6-3.6L (2008)
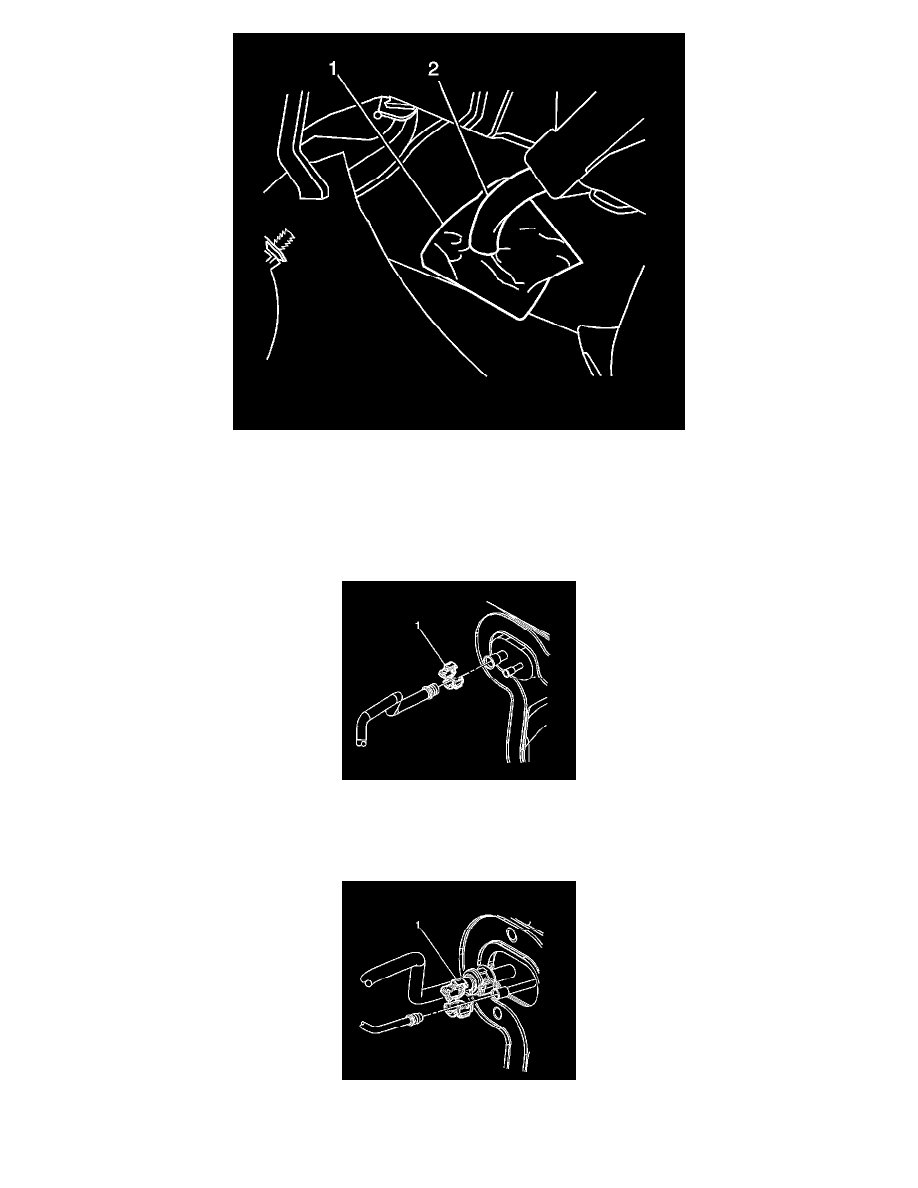
8. Connect the drain tube (2) to the floor.
9. Connect the HVAC electrical connector.
10. Install the air inlet assembly.
11. Install the I/P carrier. Refer to Instrument Panel Carrier Replacement (Left Hand Drive) (See: Body and Frame/Interior Moulding /
Trim/Dashboard / Instrument Panel/Service and Repair)Instrument Panel Carrier Replacement (Right Hand Drive) (See: Body and Frame/Interior
Moulding / Trim/Dashboard / Instrument Panel/Service and Repair) .
12. Install new O-rings to the suction line. Refer to O-Ring Replacement (See: Coupler HVAC/A/C Coupler O-ring/Service and Repair) .
13. Install the A/C suction line to the evaporator.
14. Install the quick connect fitting (1) to the suction line. Refer to Air Conditioning Line/Tube Connector Removal/Replacement (See: Hose/Line
HVAC/Service and Repair/Air Conditioning Line/Tube Connector Removal/Replacement) .
15. Install new O-rings to the suction line. Refer to O-Ring Replacement (See: Coupler HVAC/A/C Coupler O-ring/Service and Repair) .
16. Install the A/C liquid line to the evaporator .
17. Install the quick connect fitting (1) to the liquid line. Refer to Air Conditioning Line/Tube Connector Removal/Replacement (See: Hose/Line
HVAC/Service and Repair/Air Conditioning Line/Tube Connector Removal/Replacement) .