
S10/T10 Blazer 4WD V6-4.3L VIN W (1997)
-
It is essential that the differential carrier, axle seals are not lubricated or damaged during this process.
-
Prior to drive axle installation, cover the shock mounting bracket, lower control arm bail stud, and all other sharp edges with a shop towel so as not
to damage the boot.
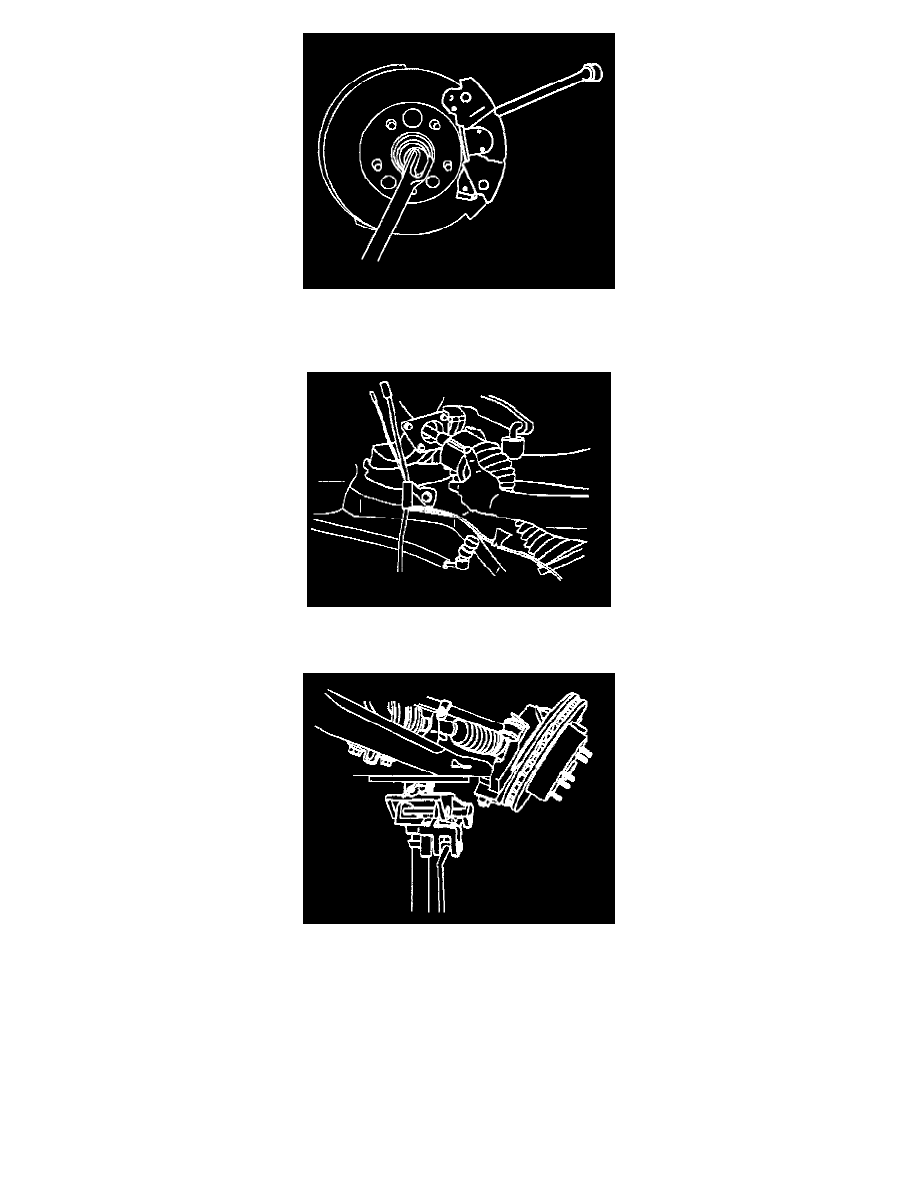
1. Axle shaft to differential carrier. With both hands on the tripot housing, align the splines on the shaft with the differential carrier. Then center the
drive axle into the differential carrier seal and firmly push the shaft straight into the differential carrier until the snap ring seats into place.
NOTICE: Be careful that the safety stand does not damage or bend any components it may contact.
2. Raise the safety stand to support the weight of the lower control arm.
Important: It will be necessary to slightly start the knuckle onto the drive axle while simultaneously guiding the lower ball stud to its proper
location on the steering knuckle.
3. Assemble the lower ball joint.
4. Lower shock mount.
5. Upper ball joint.