
Neon L4-2.0L VIN F HO (2003)
c. Install a lower bushing, then the nut. Do not tighten the nut at this time.
8. If the vehicle is equipped with the antilock brake system (ABS), install the screw securing the ABS wheel speed sensor bracket to the rear of the
strut assembly. Tighten the mounting screw to a torque of 13 Nm (120 inch lbs.).
9. If the vehicle is equipped with rear drum brakes, install the screw securing the brake hose bracket to the rear of the strut assembly. Tighten the
screw to a torque of 31 Nm (275 inch lbs.).
10. Install the tire and wheel assembly on vehicle. Tighten the wheel mounting stud nuts in proper sequence until all nuts are torqued to half
specification. Repeat the tightening sequence, this time, to full specified torque of 135 Nm (100 ft. lbs.).
11. Lower the vehicle to ground level.
12. Tighten the stabilizer bar link nut to a torque of 23 Nm (200 inch lbs.).
13. Set the rear toe on the vehicle to the required specification if necessary.
ADJUSTMENTS
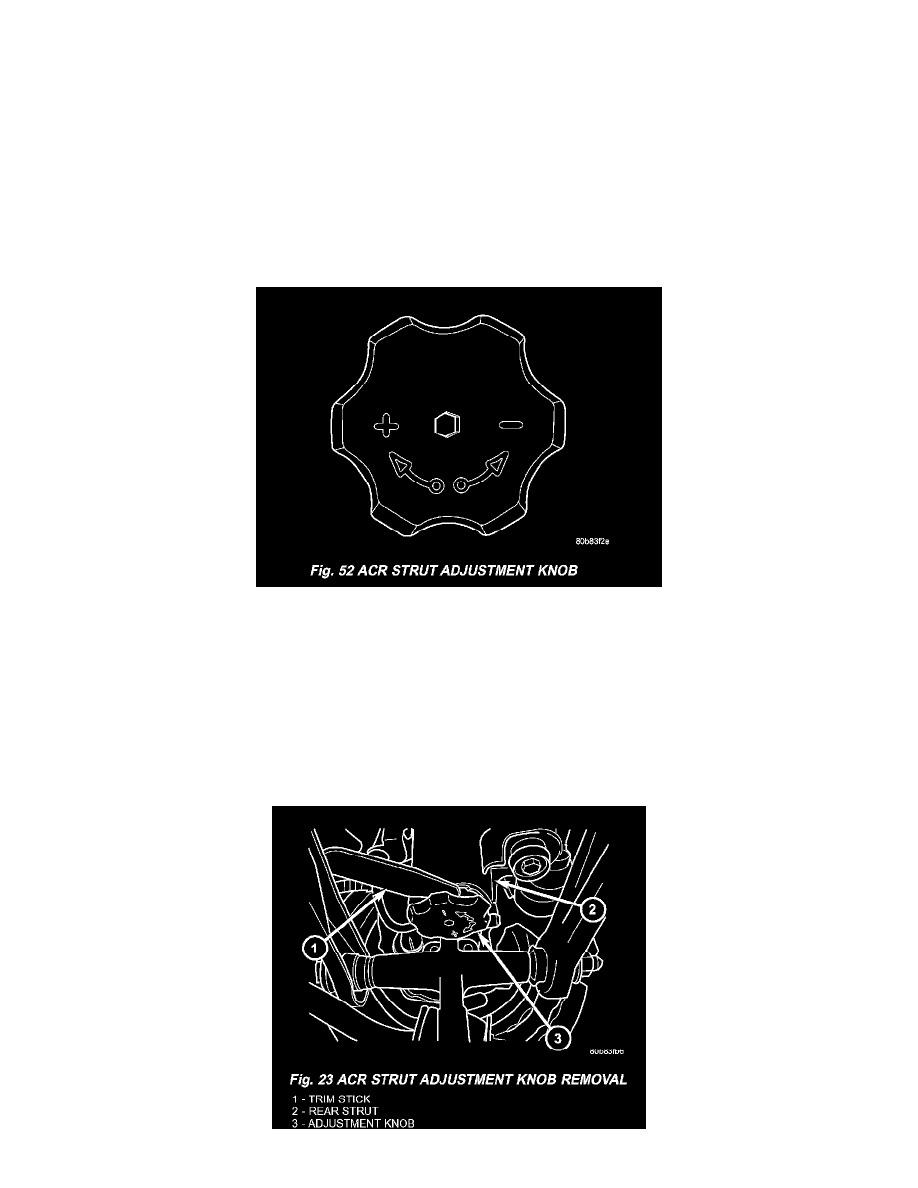
ADJUSTMENT - ACR STRUT
Vehicles equipped with the optional ACR performance package have adjustable struts. A single adjustment knob is located on the bottom of each front
and rear strut. The one knob adjusts both bump and rebound characteristics. It adjusts the strut up to 24 different positions (notches or detents), six per
revolution. Turn the knob clockwise to increase firmness and counterclockwise to decrease firmness.
There is an internal stop at the "full firm" and "full soft" position.
New struts (and new vehicles equipped with them) come from the factory set at the "full soft" position.
STRUT ADJUSTMENT KNOB (ACE)
REMOVAL
1. Raise vehicle.