| Removal and Installation Removal Vehicles with automatic transaxle | | -
Move the automatic transaxle selector lever to the ""N” position. | All vehicles | | -
Detach the audio unit from the heater control trim panel. - Using audio unit removal tools, gently pull the removal tools to the left and right of the audio unit to release the locking tangs.
- Slide the audio unit out of the heater control trim panel.
| | | -
Remove the audio unit. - Disconnect the antenna cable and the audio unit electrical connectors.
| Vehicles with automatic transaxle | | -
Remove the automatic transaxle selector lever trim. | Vehicles with manual transaxle | | -
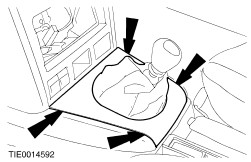
Remove the gearshift lever boot. | All vehicles | | -
Detach the accessory switches from the heater control trim panel. | | | -
Remove the heater control trim panel accessory switches. - Disconnect the electrical connectors.
| | | -
Detach the heater control trim panel from the instrument panel. - Remove the retaining screws.
- Detach the retaining clips.
| | | -
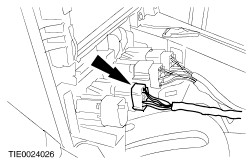
Disconnect the liftgate release switch electrical connector. | | | -
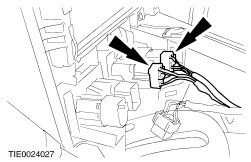
Disconnect the heated front seats electrical connectors. | | | -
Disconnect the auxiliary climate control electrical connectors. | | | -
Remove the clock from the heater control trim panel. | Installation | | -
To install, reverse the removal procedure. | |