
L322 Range Rover Service Procedures
INTERIOR FITTINGS
REPAIRS 76-3-15
Finisher - upper - drivers side
$% 76.46.12
Remove
1. Remove fascia end closing panel.
2. Remove face level air vent.
REPAIRS, Fresh air vent - face level.
3. Remove 'A' post upper trim finisher.
Trim finisher - 'A' post - upper.
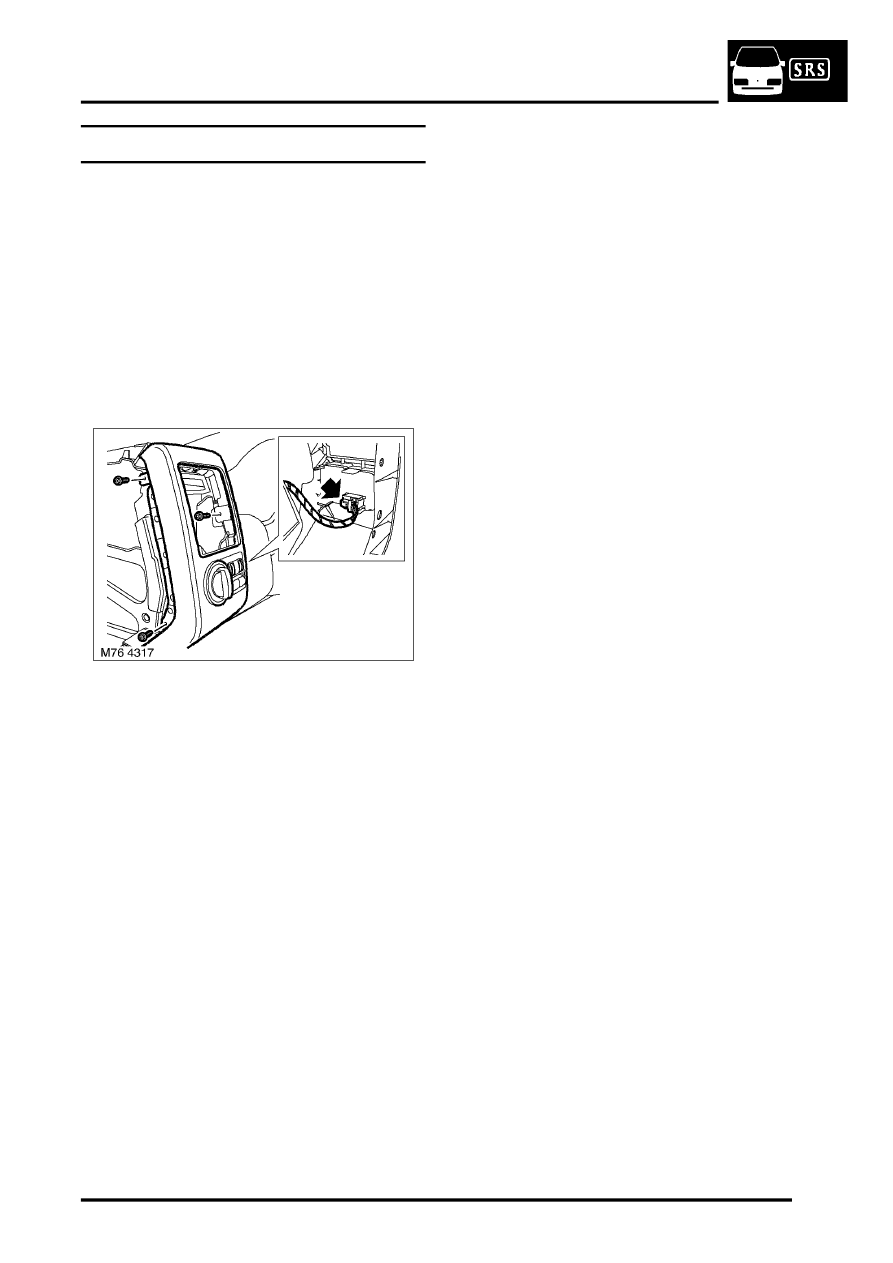
4. Remove 3 Torx screws securing upper finisher
to fascia.
5. Release upper finisher from fascia and
disconnect switch multiplug.
6. Disconnect footwell lamp multiplug.
7. Remove upper finisher.
NOTE: Do not carry out further dismantling if
component is removed for access only.
8. Remove switch assembly from finisher.
9. Depress clips and remove footwell lamp
assembly from finisher.
Refit
1. Fit footwell lamp assembly to finisher.
2. Fit switch assembly to finisher.
3. Connect multiplugs.
4. Fit finisher to fascia and secure with screws.
5. Fit face level air vents.
REPAIRS, Fresh air vent - face level.
6. Fit fascia end closing panels.
7. Fit 'A' post finisher.