
Range Rover P38
CHASSIS AND BODY
83
REPAIR
Removal Using Cutting Wire and Handles.
13. Remove both ’A’ post finishers.
See this
section.
14. Remove both sun visors.
See this section.
15. Remove map/courtesy lamp assembly.
See
ELECTRICAL, Repair.
16. Mask along leading edge of headlining.
17. Using a sharp knife, cut through P.U. sealer at
side of screen, towards lower corner.
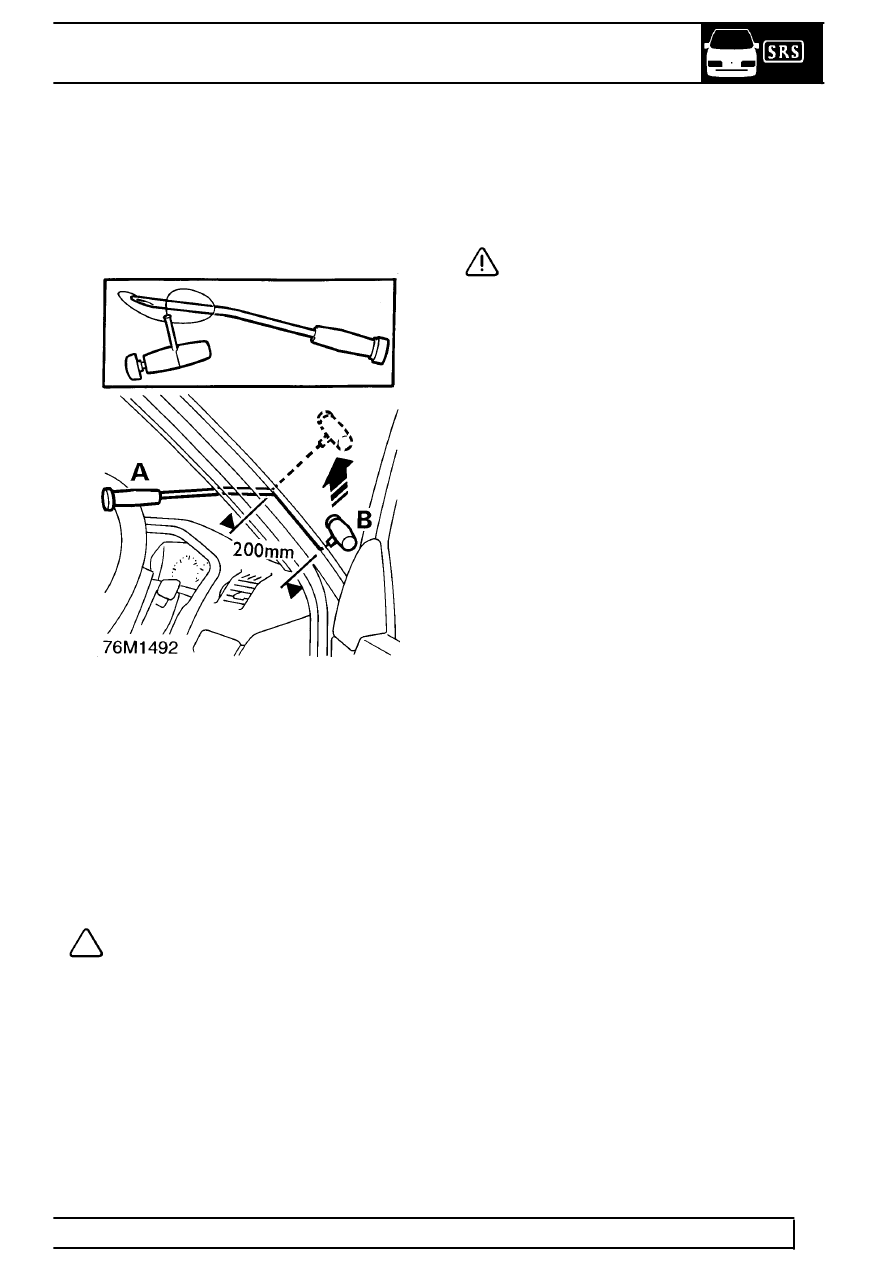
18. Insert cutting wire through knife cut and fit
handles, as shown, with approximately 200 mm
(8 in) of wire between handles.
19. With assistance, wedge tube of handle ’A’
between glass and body, ahead of the cutting
position, and carefully cut the sealer using a
continuous pull on handle ’B’ from the outside.
Cut side and top edges first. Attach suction lifters
and restrain glass as last of sealant is cut.
NOTE: When cutting along lower edge,
manoeuvre wire between glass edge and
screen supports to reduce strain on wire.
20. Attach suction lifters to glass. With assistance,
remove windscreen.
Refit
21. carefully cut old sealer from body flange to
obtain a smooth surface, approximately 2 mm
(1/16 in) thick.
CAUTION: Do not cut down to painted
surface.
22. Inspect supports, renew if damaged.
23. Position screen on felt covered surface.
24. If original screen is to be refitted, cut old sealer
from glass to obtain a smooth surface,
approximately 2 mm (1/16 in) thick.