
6 L4-2.5L (2010)
When reusing oil pan installation bolts, clean any old sealant from the bolts. Using bolts with the old seal adhering could cause cracks in the housing.
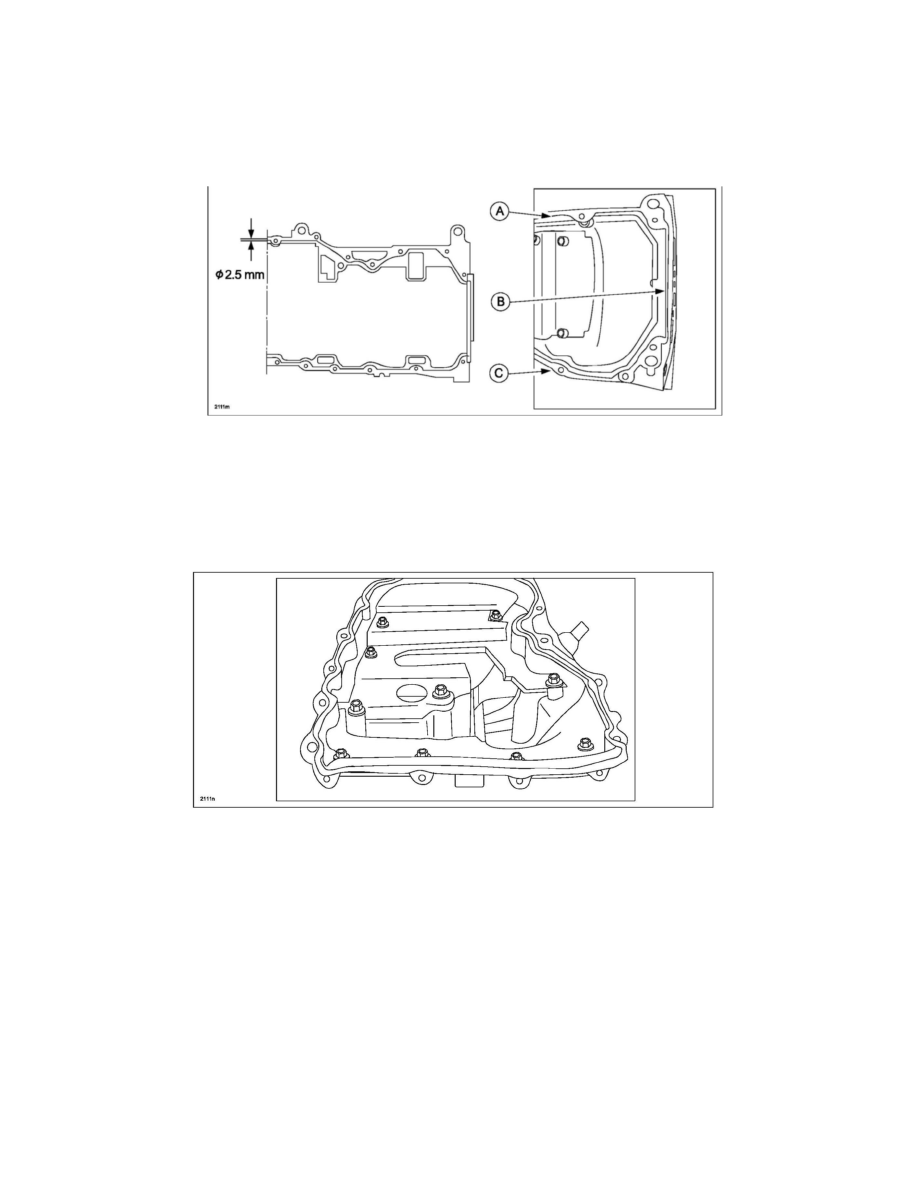
4. Apply silicone sealant to the oil pan in a single, unbroken line around the whole perimeter of the oil pan as shown in the following illustrations.
NOTE:
Install the oil pan within ten (10) minutes after applying the silicone sealant, otherwise the gasket material will get too hard and you will have to scrape
the oil pan clean and apply silicone sealant again.
a. Apply a 2.5 mm bead down the center of the sides of the oil pan (A).
b. Apply a 2.5 mm bead to the rear edge (B) of the oil pan (approximately 5mm from the rear edge).
c. Apply inside the bolt holes (C).
d. Apply silicone sealant to the front edge of the oil pan and to the front cover where the two pieces attach together.
e. Apply an ample amount to the front cover where the oil pan is fitted (A), and also apply an extra amount (a ball of approximately 5mm in diameter)
of silicone sealant to the corners of the front case and the cylinder block (B).