
6 L4-2.5L (2010)
CAUTION:
-
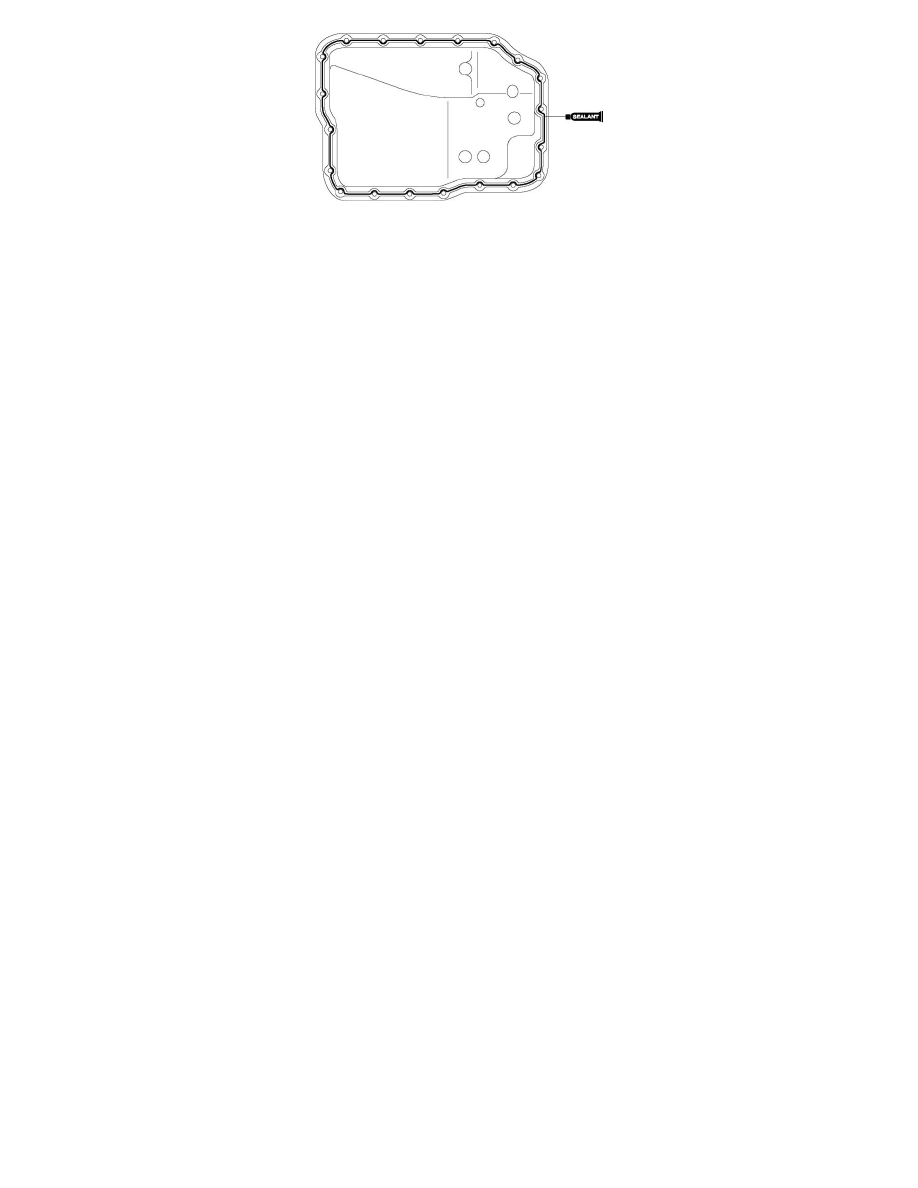
If any old sealant gets into the transaxle during installation of the oil pan, trouble may occur in the transaxle case and oil pan, and clean with
cleaning fluids.
8. Install the oil pan before the applied sealant starts to harden.
Tightening torque
-
6.0-8.0 Nm {62-81 kgf-cm, 54-70 in-lbf}
9. Add the ATF. See: Service and Repair/Procedures/Automatic Transaxle Fluid (ATF) Replacement - FS5A-EL
10. Install the front crossmember. See: Body and Frame/Frame/Cross-Member/Front Cross-Member/Service and Repair/Front Crossmember
Removal/Installation
11. Install the aerodynamic under cover NO.2. See: Body and Frame/Splash Guard/Service and Repair/Aerodynamic Under Cover No.2
Removal/Installation
12. Connect the negative battery cable.
13. Perform the "Mechanical System Test". See: Transmission Control Systems/Testing and Inspection/Initial Inspection and Diagnostic
Overview/Mechanical System Test - FS5A-EL
14. Perform the "Road Test". See: Transmission Control Systems/Testing and Inspection/Initial Inspection and Diagnostic Overview/Road Test -
FS5A-EL
Secondary Control Valve Body On-Vehicle Removal
WARNING:
-
A hot transaxle and ATF can cause severe burns. Turn off the engine and wait until they are cool.
-
Using compressed air can cause dirt and other particles to fly out, causing injury to the eyes. Wear protective eyeglasses whenever using
compressed air.
-
Water or foreign objects entering the connector can cause a poor connection or corrosion. Be sure not to drop water or foreign objects on the
connector when disconnecting it.
1. Disconnect the negative battery cable.
2. Remove the battery and battery tray. See: Starting and Charging/Battery/Service and Repair/Removal and Replacement
3. Remove the PCM and PCM bracket. See: Powertrain Management/Computers and Control Systems/Engine Control Module/Service and
Repair/Removal and Replacement
4. Remove the aerodynamic under cover NO.2. See: Body and Frame/Splash Guard/Service and Repair/Aerodynamic Under Cover No.2
Removal/Installation
5. Clean the transaxle exterior throughout with a steam cleaner or cleaning solvents.
6. Drain the ATF into a separate suitable container. See: Service and Repair/Procedures/Automatic Transaxle Fluid (ATF) Replacement - FS5A-EL
7. Remove the oil cover.
8. Disconnect each solenoid valve connector.