
Villager V6-201 3.3L SOHC VIN T SFI (1999)
Seat Belt Height Adjuster: Service and Repair
Shoulder Safety Belt Height Adjuster With Stripped Weld Nuts
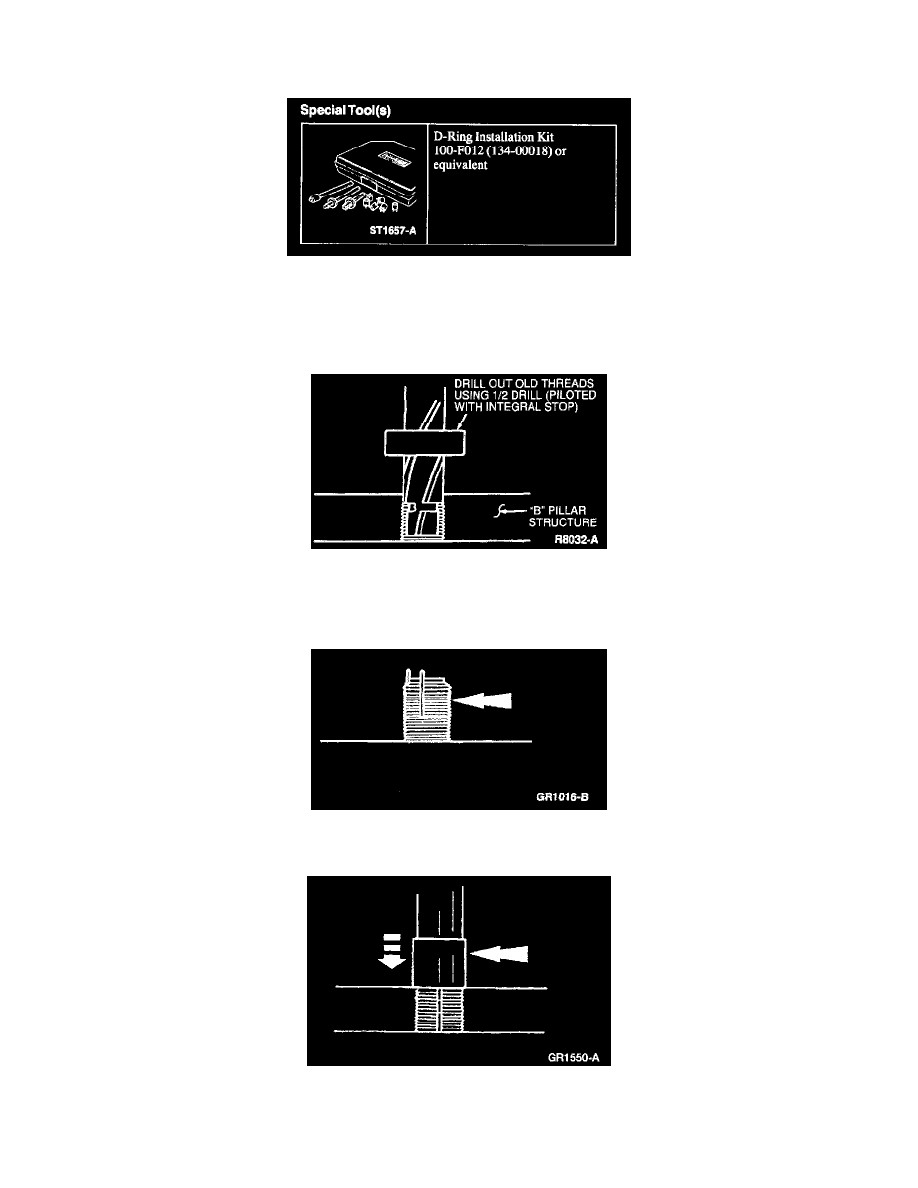
D - Ring Installation Kit
Special Tool(s)
1. Remove the B-pillar, C-pillar, or upper corner trim panel.
2. Use the half-inch drill provided in the D-Ring Installation Kit or equivalent to drill out the damaged threads.
3. Apply a suitable lubricant to the M14x1.5 tap provided in D-Ring Installation Kit or equivalent and tap new threads.
NOTE: After each rotation, back the tap off slightly to remove new cuttings and be sure to clean out any chips before proceeding.
4. Use a threaded insert provided in the D-Ring Installation Kit or equivalent and screw it into the retapped hole until it is slightly below the surface
of the hole.
5. Use a hammer to lightly tap the installation tool provided in the D-Ring Installation Kit several times to drive down the insert keys.
NOTE: If the height adjuster bolts are stripped, replace the height adjuster.