
Diamante Sedan V6-3.5L SOHC (1999)
1. If the run-out of the brake disc is equivalent to or exceeds the limit specification, change the phase of the disc and hub, and then measure the
run-out again.
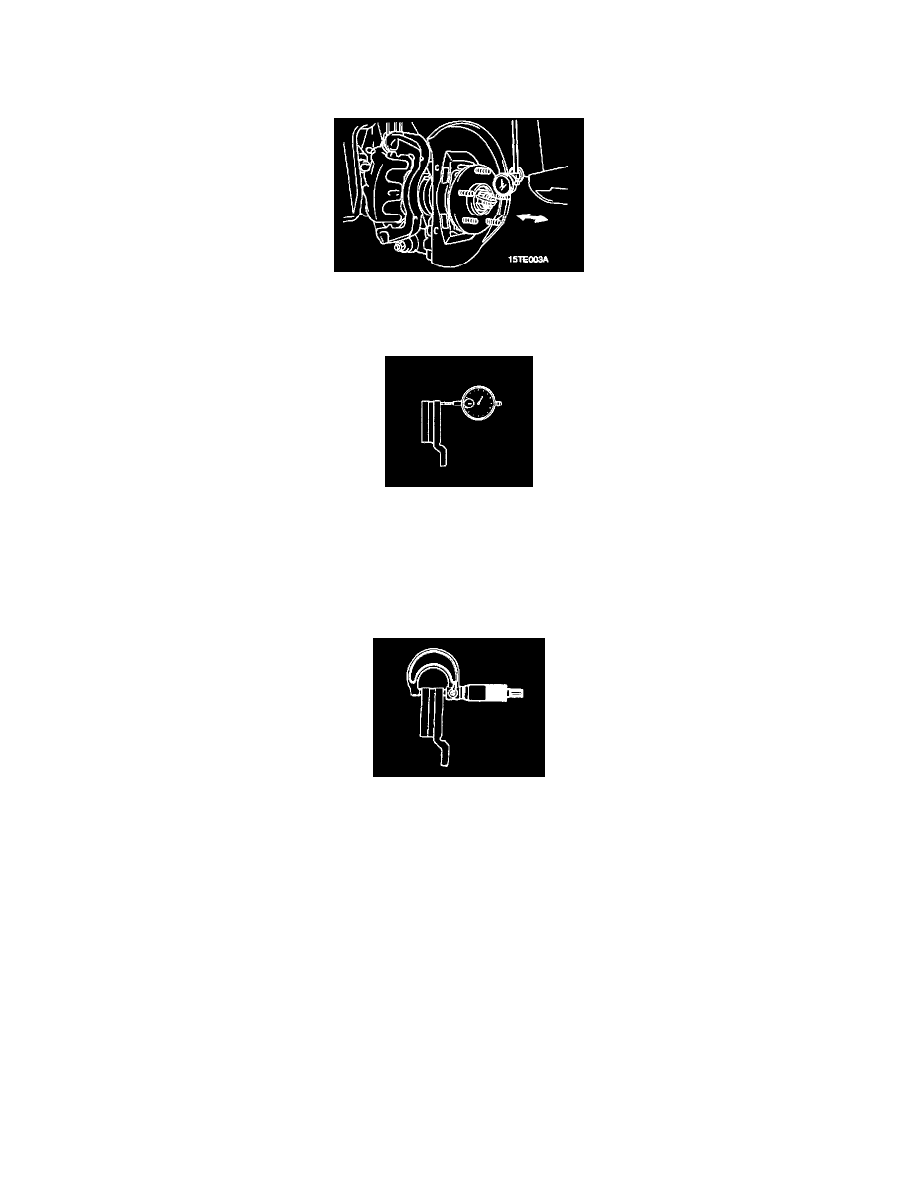
1. Before removing the brake disc, chalk both sides of the wheel stud on the side at which run-out is greatest.
2. Remove the brake disc, and then place a dial gauge as shown in the illustration; then move the hub in the axial direction and measure the play.
Limit: 0.05 mm (0.0020 inch)
If the play is equivalent to or exceeds the limit, disassemble the hub knuckle and check each part.
3. If the play does not exceed the limit specification, install the brake disc at a position 180° away from the chalk mark, and then check the
run-out of the brake disc once again.
2. If the run-out cannot be corrected by changing the phase of the brake disc, replace the brake disc or turn rotor with an on the car type brake lathe
("Accuturn-8750" or equivalent). Be sure to follow the exact brake lathe manufacturer instructions. Rotors turned on the vehicle will often have a
lower run-out than a new brake disc.
FRONT BRAKE DISC THICKNESS CHECK
1. Using a micrometer, measure disc thickness at eight positions, approximately 45° apart and 10 mm (0.39 inch) in from the outer edge of the disc.
Brake disc thickness.
Standard value: 24 mm (0.94 inch)
Limit: 22.4 mm (0.88 inch)
Thickness variation (at least 8 positions) The difference between any thickness measurements should not be more than 0.015 mm (0.0006
inch).
2. If the disc is beyond the limits for thickness, remove it and install a new one. If thickness variation exceeds the specification, replace the brake disc
or turn rotor with an on the car type brake lathe ("Accuturn-8750" or equivalent). Be sure to follow the exact brake lathe manufacturer instructions.