
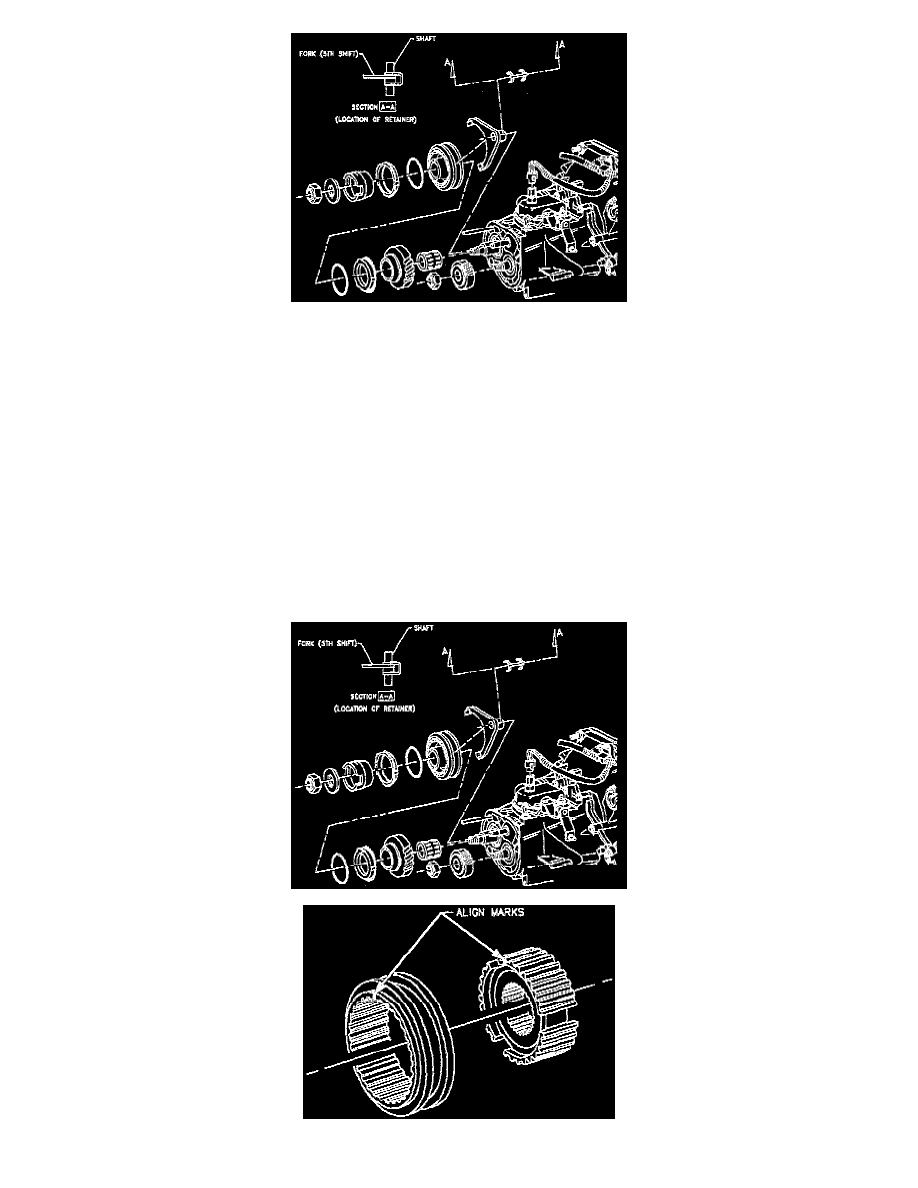
SW2 L4-1.9L DOHC VIN 7 (1997)
IMPORTANT: If the 5th/Reverse hub is press fit on the input shaft:
a. Install shaft protector, SA9211T-3 on the end of the input shaft with the counter bore in the shaft protector going over the input shaft.
b. Install the 5th driven gear remover, SA9211T-2 on the input shaft. Engage the legs of the puller under the clutching teeth ring on the 5th
drive gear and center the forcing screw on the shaft protector.
c. Tighten the forcing screw to remove the 5th drive gear along with the 5th/Reverse hub.
10. Remove 5th driven gear, if required.
IMPORTANT: If the 5th driven gear is press fit on the input shaft:
a. Install shaft protector, SA9211T-3 on the end of the output shaft with the counter bore in the shaft protector going over the output shaft.
b. Install the 5th driven gear remover, SA9211T-2 on the output shaft. Engage the legs of the puller under the 5th driven gear and center the
forcing screw on the shaft protector.
IMPORTANT: It may be necessary to release the bearing snap-ring and pull the shaft out to provide access for the puller under the 5th driven
gear.
c. Tighten the forcing screw on the puller to remove the 5th driven gear.