
SW2 L4-1.9L DOHC VIN 7 (1997)
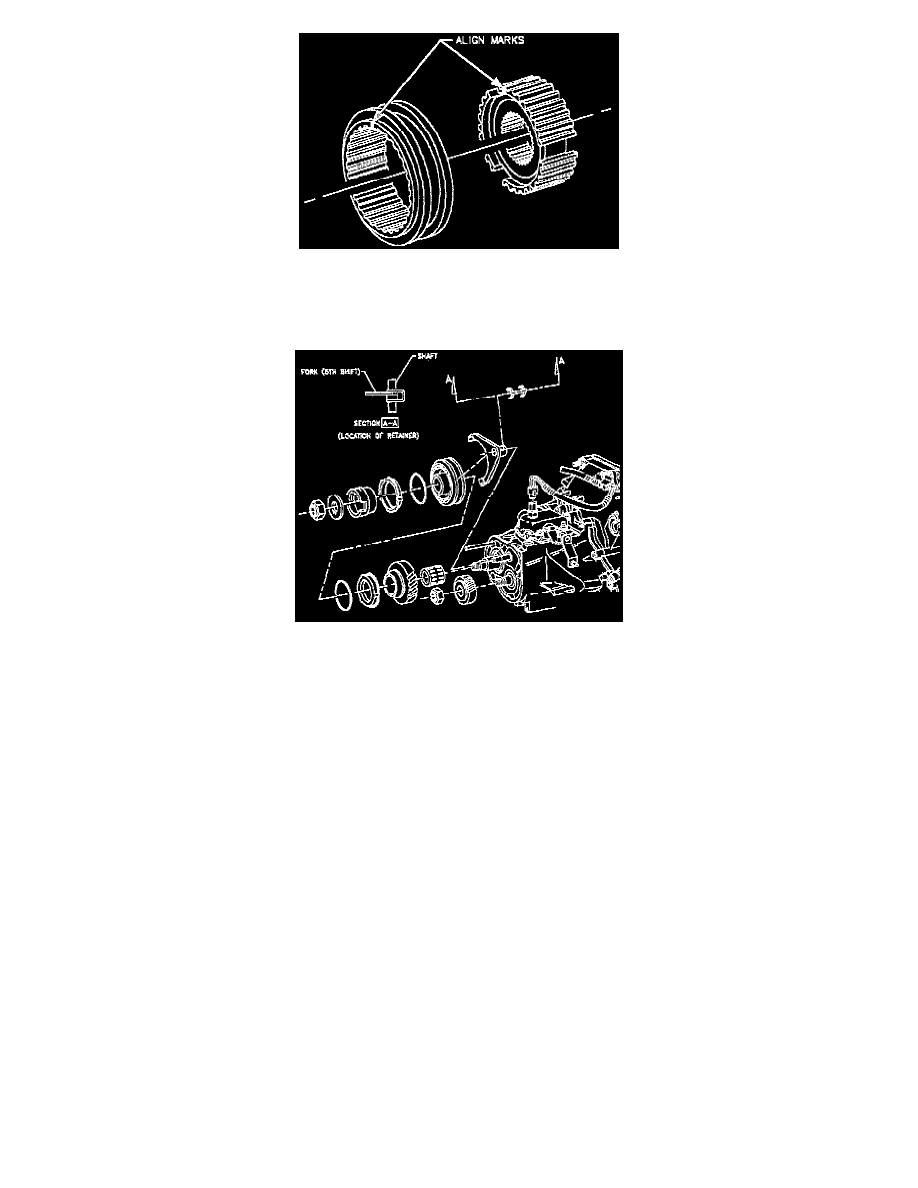
IMPORTANT: Be sure to align the mark on the sleeve to the mark on the hub as shown (3/4 synchronizer shown, 5th/Reverse synchronizer
similar).
10. Install the synchronizer spring to the reverse blocker and install the assembly to the 5th/Reverse sleeve.
11. Install the reverse cone and thrust washer.
12. Lock the transaxle in two gears by shifting into 1st gear, and moving the 5th/Reverse shift fork into 5th gear at the same time.
IMPORTANT: Make sure that the threads on the input and output shaft are clean and free of dirt and oil. A wire brush may be used to clean
threads.
13. Install a new input shaft nut and torque.
-
Torque: 150 N.m (111 ft. lbs.).
14. If removed, install a new output shaft nut and torque.
-
Torque: 150 N.m (111 ft. lbs.).
15. Unlock the transaxle by moving the 5th/Reverse shift fork into the neutral position.
16. Install the 5th/Reverse fork retainer.
IMPORTANT: Always use new retainers.
17. Install the rear cover and wheel. Refer to the "Rear Cover Installation" procedures.