
VUE AWD V6-3.5L VIN 4 (2004)
compartment.
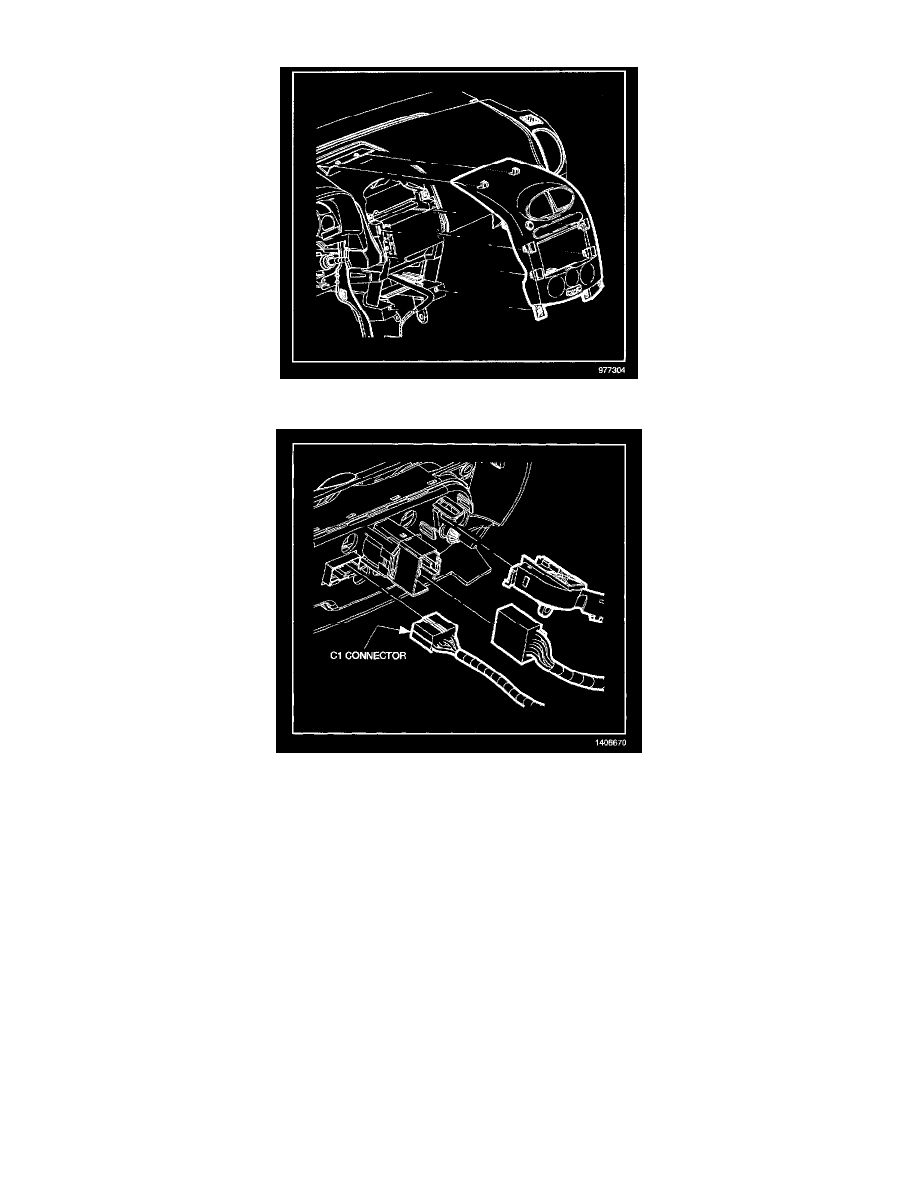
5.
Pull lower edge of radio bezel rearward disengaging lower clips, then pull upper portion rearward disengaging upper clips.
6.
Once the radio bezel has been removed, remove the C1 connector (20-way black) and reinstall ensuring that the connector is locked into place.
7.
Test HVAC system and make sure initial condition is resolved. If the condition is resolved, proceed with next step. If the condition still exists and
the electrical connector is locked into place, refer to the diagnostic information in the HVAC section of the appropriate Saturn Service Manual.
HVAC Controller/Radio Bezel Installation
1.
Install radio bezel by inserting upper front edge clips first, then slide bezel forward while holding down on front edge of bezel to engage upper
retention clips.
2.
Press forward at lower clip location to engage and secure the lower clips.
3.
Install I/P front console storage compartment and screws.
Tighten
Tighten the storage compartment screws to 2.2 N.m (22 in-lbs).