seat Workshop Repair Guides

SEAT Workshop Service and Repair Manuals

III - Front wheel brake: repairing (Lucas and Girling brake calipers) > < II - Front wheel brake: repairing (brake caliper VW I)
Brake pads/caliper: removing and installing (VW II caliper)
Special tools and workshop equipment required
   
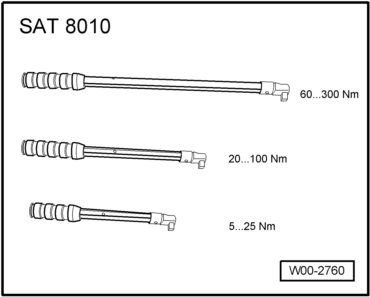
t  Torque wrenches -SAT 8010-
  W00-2760
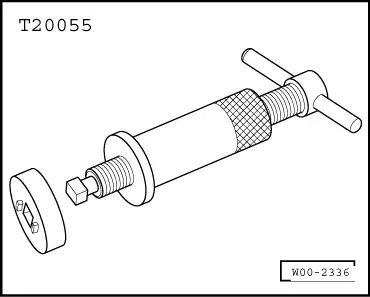
t  Piston retraction tool -T20055-
Brake pads: removing
  Note!
Mark position of any brake pads that are to be re-used. They must be fitted in their original position, otherwise the braking will not be uniform!
–  Raise the vehicle.
–  Unscrew wheels.
–  Loosen the caliper allen bolts.
  W00-2336
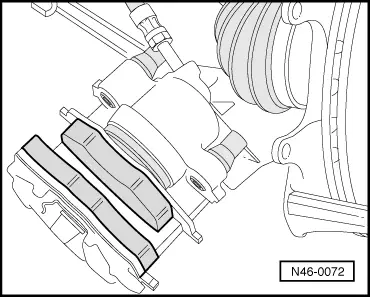
–  Brake pads: removing.
–  Clean the caliper, especialy the contact surfaces (the two pistons) with the pads must be free of dirt and grease.
Only use alcohol for cleaning the brake caliper.
Brake pads: fitting
  Note!
Before fitting new brake pads, the piston inside the cylinder has to be pushed back with the -T20055- retraction tool. Before retracting use an extraction bottle to extract some fluid from the tank. Otherwise - if brake fluid has been filled to the limit - it might spill out and cause damage.
–  Push the piston in with the retraction tool -T20055-, taking care not to damage the seal boot.
–  Fit the brake pads. The pad with the greatest surface area is on the outside.
Brake caliper: fitting
  N46-0072
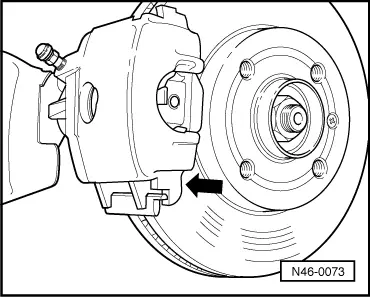
–  Fit the brake caliper with the pads in the wheel bearing casing.
–  First fit the lower part of the caliper -arrow-. The caliper box pivot should be behind the wheel bearing casing guide.
–  Tighten the caliper allen bolts. Tightening torques: 25 Nm
  Note!
t  After replacing the brake pads, depress the brake pedal a few times with the vehicle stationary, so that the pads reach their working position.
t  After changing pads, check the brake fluid level.
  N46-0073

III - Front wheel brake: repairing (Lucas and Girling brake calipers) > < II - Front wheel brake: repairing (brake caliper VW I)