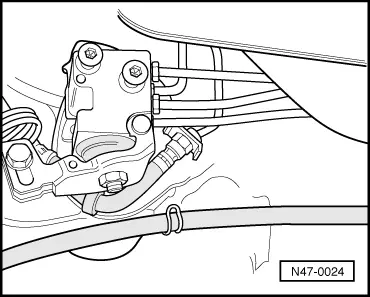
| The brake pressure regulator is mounted on a bracket which is in turn fixed to a rear axle mounting bracket and is controlled from the rear axle by a spring. |
| Firmly depress the brake pedal and release quickly (vehicle standing on its wheels). This must cause the brake pressure regulator lever to move. |
| Checking and adjusting pressure |

Note! | The brake pressure regulator is set with the vehicle unladened → Note. |
| –
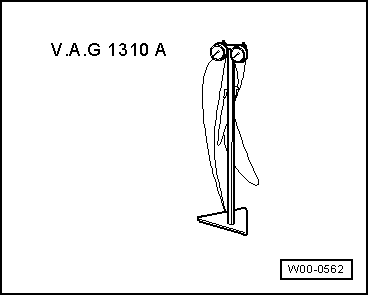
| Lift vehicle and connect the pressure gauges to front left brake caliper and to the rear right wheel cylinder. |
| 1)
| The term “unladen” means: The weight of the vehicle ready for the road (full fuel tank, spare wheel, tool kit and jack). |
| –
| Lower vehicle and bounce the rear of the vehicle several times. |
| –
| Depress brake pedal and measure pressures. |
| –
| Compare figures attained with specifications → Chapter and if necessary adjust. |
| Rear axle test pressure too high: |
| –
| Release regulator spring. |
| Rear axle test pressures too low: |
| –
| Tension regulator spring. |
Note! | Do not adjust with brake pedal depressed, therefore observe the following sequence: |
| –
| Read off figures and if necessary, readjust. |
| –
| Remove pressure gauges and bleed brake system → Chapter. |
|
|
|