
Forester F4-2.5L SOHC (2004)
Tightening torque:
First step; 7.4 Nm (0.75 kgf-m, 5.4 ft. lbs.)
Second step; Back off 25°.
18) Remove the tie-rod.
19) Verify that play is within specified value.
20) Loosen the adjusting screw, and then apply liquid gasket to at least 1/3 of the entire perimeter of adjusting screw thread.
Liquid gasket: THREE BOND 1141
21) Tighten the adjusting screw to specified torque.
Tightening torque:
First step; 7.4 Nm (0.75 kgf-m, 5.4 ft. lbs.)
Second step; Back off 25°.
22) Install the lock nut. While holding the adjusting screw with a wrench, tighten lock nut using ST. ST 926230000 SPANNER
Tightening torque (Lock nut): 39 Nm (4.0 kgf-m, 28.9 ft. lbs.)
NOTE: Hold the adjusting screw with a wrench to prevent it from turning while tightening lock nut.
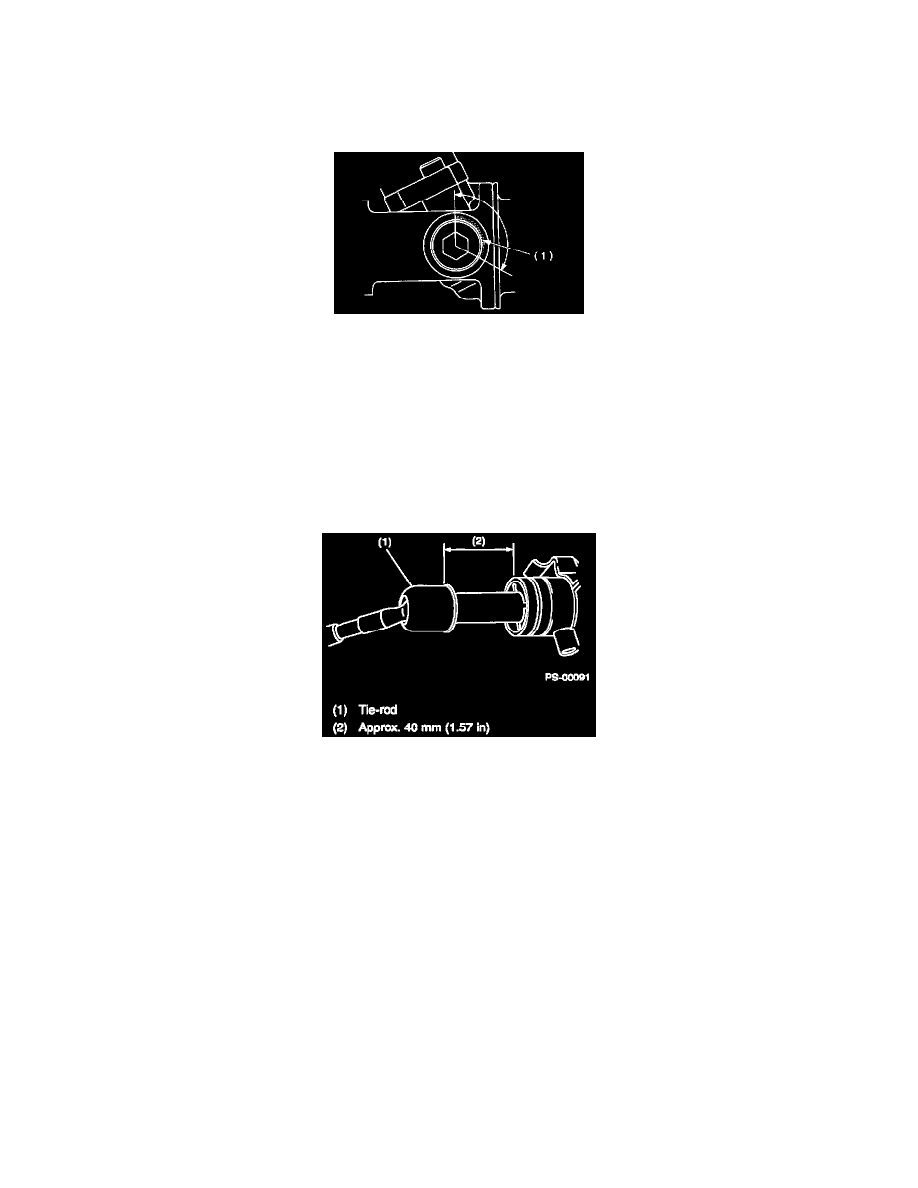
23) Extend the rack approximately 40 mm (1.57 inch) beyond side of steering body.
24) Install the tie-rod and a new lock washer into rack.
Tightening torque: 78 Nm (8.0 kgf-m, 57.9 ft. lbs.)