
Hatchback 4WD F4-1781cc 1.8L (1983)
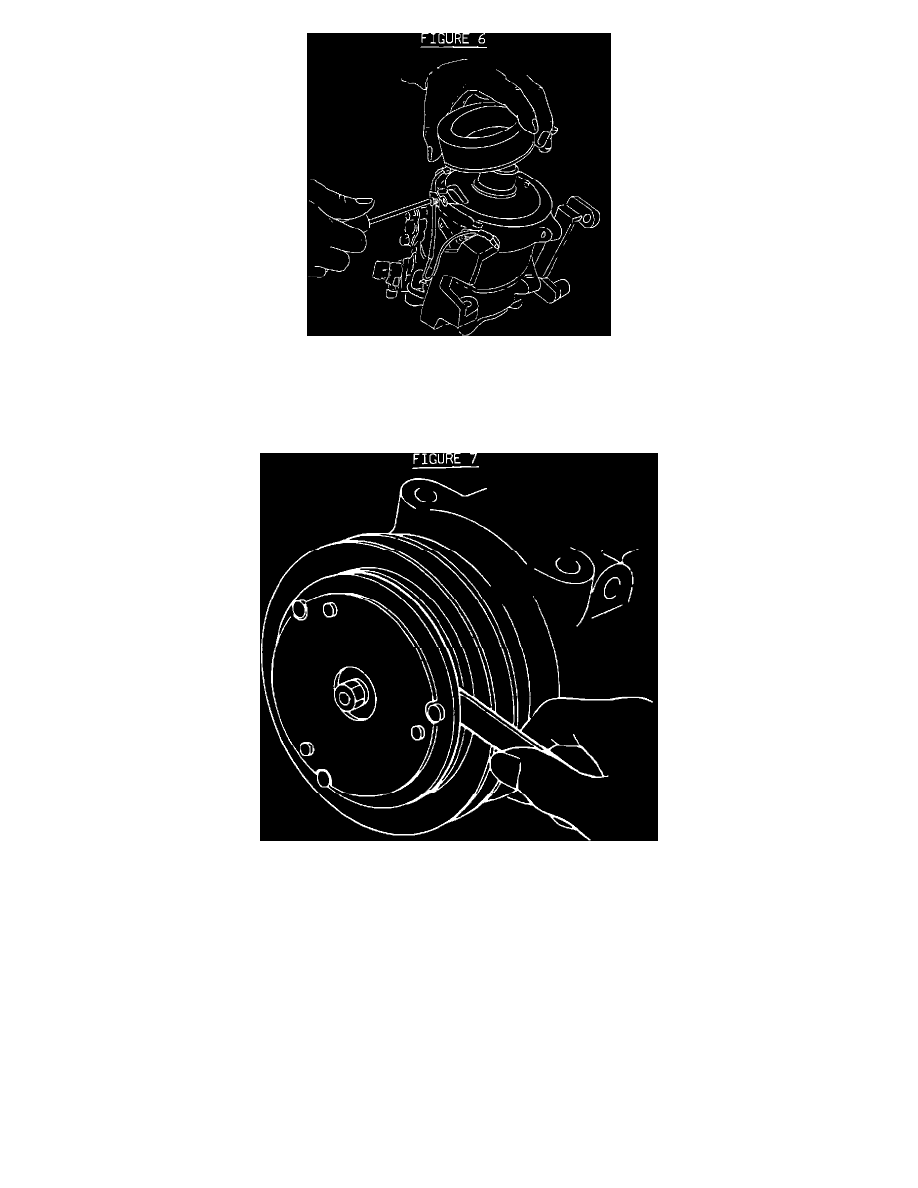
8.
Remove the snap ring which retains the clutch coil with a pair of external snap ring pliers. Remove the Phillips screw which attaches the clutch
wire to the compressor. Remove the compressor clutch coil. (See Figure 6).
9.
Replace the failed part and reassemble in the reverse order of disassembly. Be careful to install the same adjusting shims onto the compressor
shaft. Refer back to Figure 4.
10.
The hub to pulley clearance should be 0.5 to 0.8 mm (0.20-0.031 inches). If the specified clearance is not attained, adjust the amount of shims to
achieve the specified clearance. Torque the shaft nut to 15 ft.lbs. (See Figure 7).
11.
Reinstall the compressor and clutch assembly onto the vehicle following the procedures on pages 13-30 and 13-31 of the 1983 Subaru Service
Manual (MSA-116). Consult pages 13-19 through 13-24 for proper evacuating and charging procedures.
If a failed Subaru air conditioner compressor is replaced, it is recommended that the receiver drier also be replaced. The receiver drier must be replaced
whenever contaminants enter the system or if the receiver drier is blocked.