
Astra J
Crankshaft Balancer Replacement (MT - F17, M32)Special Tools
For equivalent regional tools, refer to Special Tools . Removal Procedure
|
| 1. | Open the hood. |
| 2. | Raise and support the vehicle. Refer to Lifting and Jacking the Vehicle . |
| 3. | Remove the front compartment splash shield. Refer to Front Compartment Splash Shield Replacement . |
| 4. | Remove the drive belt. Refer to Drive Belt Replacement . |
| 5. | Remove the transmission front mount. Refer to Transmission Front Mount Replacement . |

| 6. | Remove the bolted connection (1). |
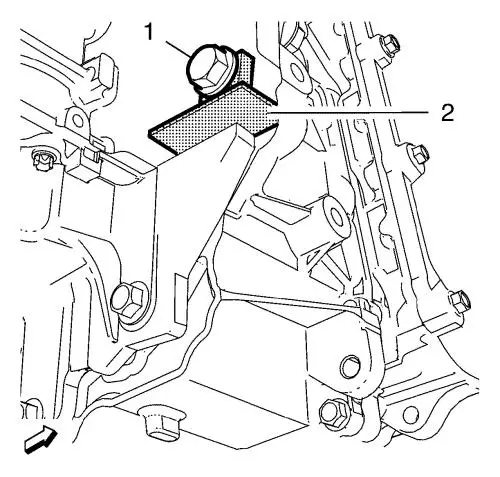
| 7. | Install the EN-6625 locking device (2) to lock the crankshaft. |
| 8. | Install the bolted connection (1). |
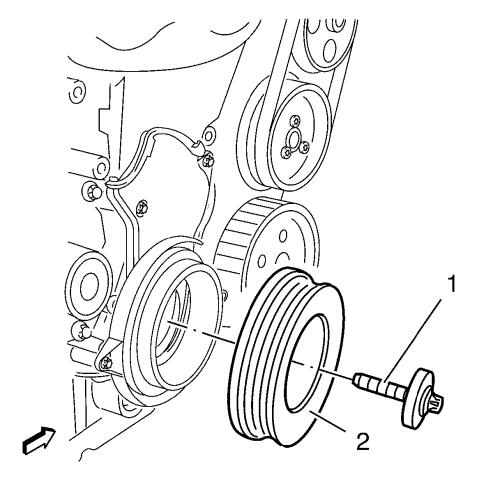
| 9. | Remove and DISCARD the crankshaft balancer bolt (1). |
| 10. | Remove the crankshaft balancer (2). |
Installation Procedure
| 1. | Install the crankshaft balancer (2). |
Caution: Refer to Fastener Caution . |
Caution: Refer to Torque-to-Yield Fastener Caution . |
| 2. | Install a NEW crankshaft balancer bolt (1) and tighten in 3 passes using the EN-45059 meter : |
| 2.1 | First pass to 95 N·m (70 lb ft) . |
| 2.2 | Second pass to 45° . |
| 2.3 | Third pass to 15° . |
| 3. | Remove the bolted connection (1). |
| 4. | Remove EN-6625 locking device (2) to unlock the crankshaft. |
| 5. | Install the bolted connection (1) and tighten to 40 N·m (30 lb ft) . |
| 6. | Install the transmission front mount. Refer to Transmission Front Mount Replacement . |
| 7. | Install the drive belt. Refer to Drive Belt Replacement . |
| 8. | Install the front compartment splash shield. Refer to Front Compartment Splash Shield Replacement . |
| 9. | Lower the vehicle. |
| 10. | Close the hood. |