
Golf Mk5
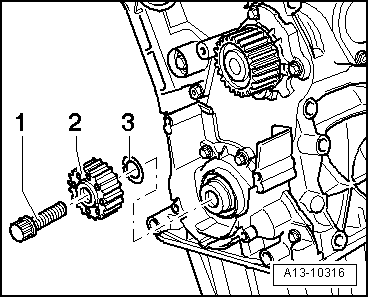
| Removing and installing sealing flange (belt pulley end) |

| Special tools and workshop equipment required |
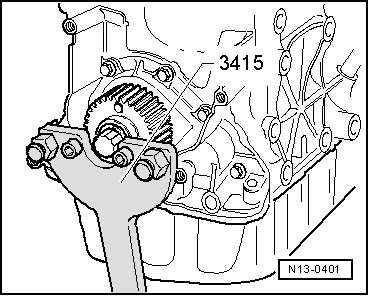
| t | Counterhold tool -3415- |
| t | Assembly tool -T10053- |
| t | Torque wrench -V.A.G 1331- |
| t | Torque wrench -V.A.G 1332- |
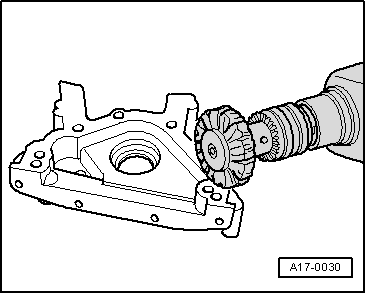
| t | Hand drill with plastic brush |
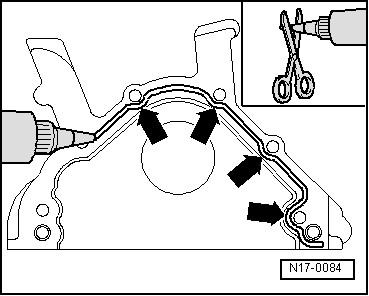
| t | Silicone sealant -D 176 404 A2- |
| t | Flat scraper |
|
 Note
Note
|
|
|
|
Note
|
|
Note
|
|
|
|
|
|