volkswagen Workshop Repair Guides

Volkswagen Workshop Service and Repair Manuals

Releasing and securing B-pillar trim, 4-door models > < Removing and installing B-pillar trim, 4-door models
Removing and installing B-pillar trim, 2-door models
Special tools and workshop equipment required
   
t  Removing wedge -3409-
  Note
Removal and installation are described for the left vehicle side. Follow same instructions for the right side as appropriate.
Removing
Remove front three-point seat belt → Chapter.
–  Remove C-pillar trim → Chapter.
–  Remove side trim → Chapter.
  W00-0016
–  Release B-pillar trim -1- from door seal beading.
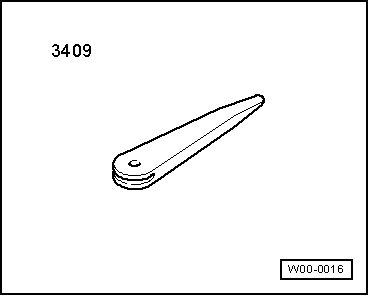
–  Release retaining clip -2- of B-pillar trim -1- using removing wedge -3409- in lower area from bodywork mountings.
–  Release retaining clip -3- of B-pillar trim -1- in middle area from bodywork mountings.
–  Release retaining clip -4- of B-pillar trim -1- using removing wedge -3409- in upper area from bodywork mountings.

–  Remove B-pillar trim.
Installing
  Note
t  Before installing, check all fasteners for damage and renew if necessary.
t  When installing, the belt adjuster slide and the button of the trim must be in the same position.
t  After installation, make sure that B-pillar trim -3- is behind beading of door seal.
–  Install in reverse order of removal.
–  Insert centring drift -5- in mounting and start engaging retaining clips -1, 2 and 3-.
Install front three-point seat belt → Chapter.
   

Releasing and securing B-pillar trim, 4-door models > < Removing and installing B-pillar trim, 4-door models