
S60 L5-2.4L VIN 64 B5244S6 (2003)
Install tool 999 5754 at the rear of the intake camshaft.
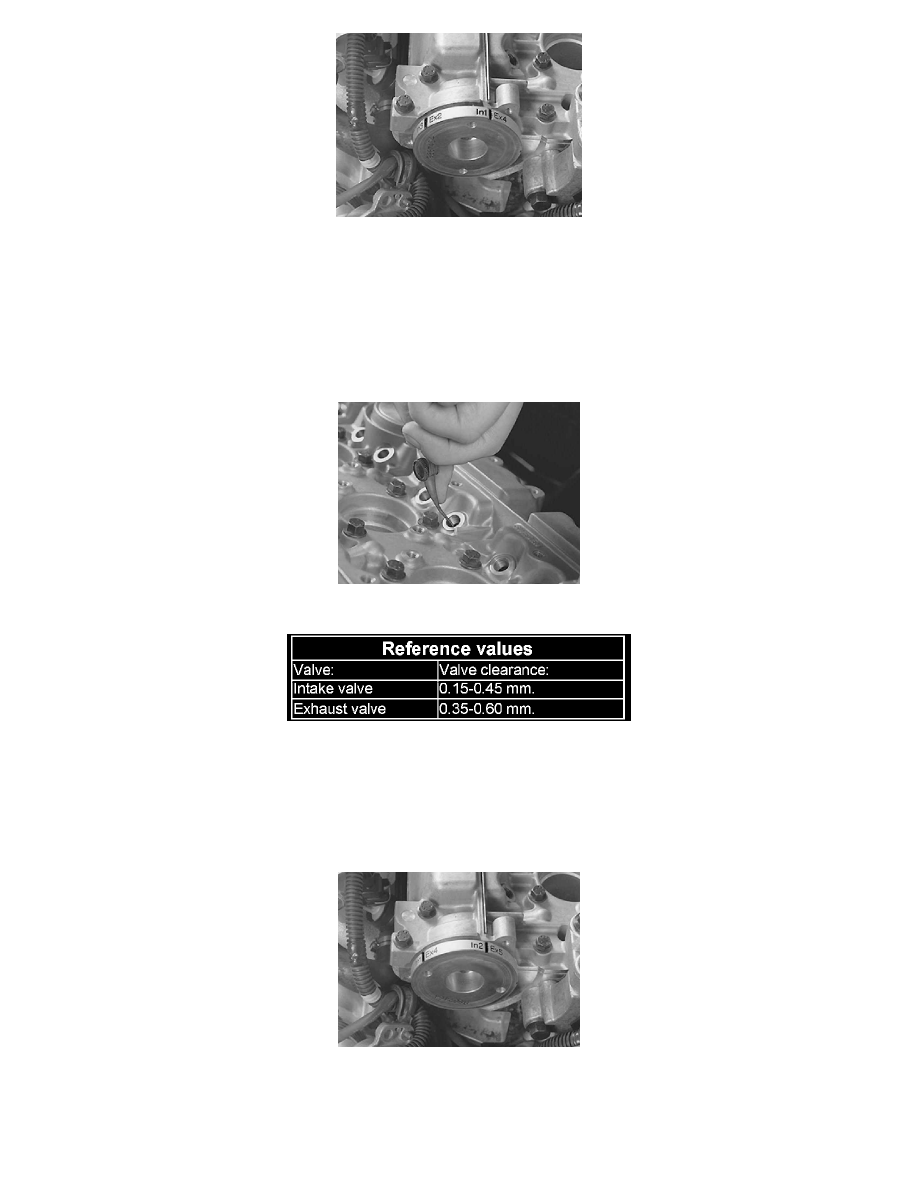
Turn the crankshaft in the direction of engine rotation (clockwise) until the marking on the tool (In1/Ex4) is in opposite the thin flange running straight
over the top of the entire cylinder head. Remove all plugs from the test holes.
Note: If the crankshaft is turned to far, it is essential that it is turned back at least a quarter of a turn so that it can then be turned clockwise to the
correct position.
Check the valve clearance
Check the valve play with feeler gauge 999 5752 at cylinder. 1 intake valves and cylinder 4 exhaust valves.
Insert the feeler gauge through the inspection holes. Bend the feeler gauge with light finger pressure so that it follows the top of the valve lifter.
The correct measurement will not be obtained until the feeler gauge has gone in approximately 15 mm
Caution: This is only the check value.
Note: Carry out this check with the engine at room temperature. Make a note of the valve clearance on a form.
Next test measurement
Turn the crankshaft in the direction of engine rotation until the next marking In2/Ex5 is opposite the flange on top of the cylinder head. Perform the
test measurement according to the previous description.
Continue by measuring the remaining valve clearances according to the markings on tool 999 5754.
Finishing