
3.2TL TYPE S V6-3.2L SOHC (2002)
-
Level and finish the burrs left on the welding surfaces with a sander.
-
Fill all drilled holes by MIG or gas welding.
-
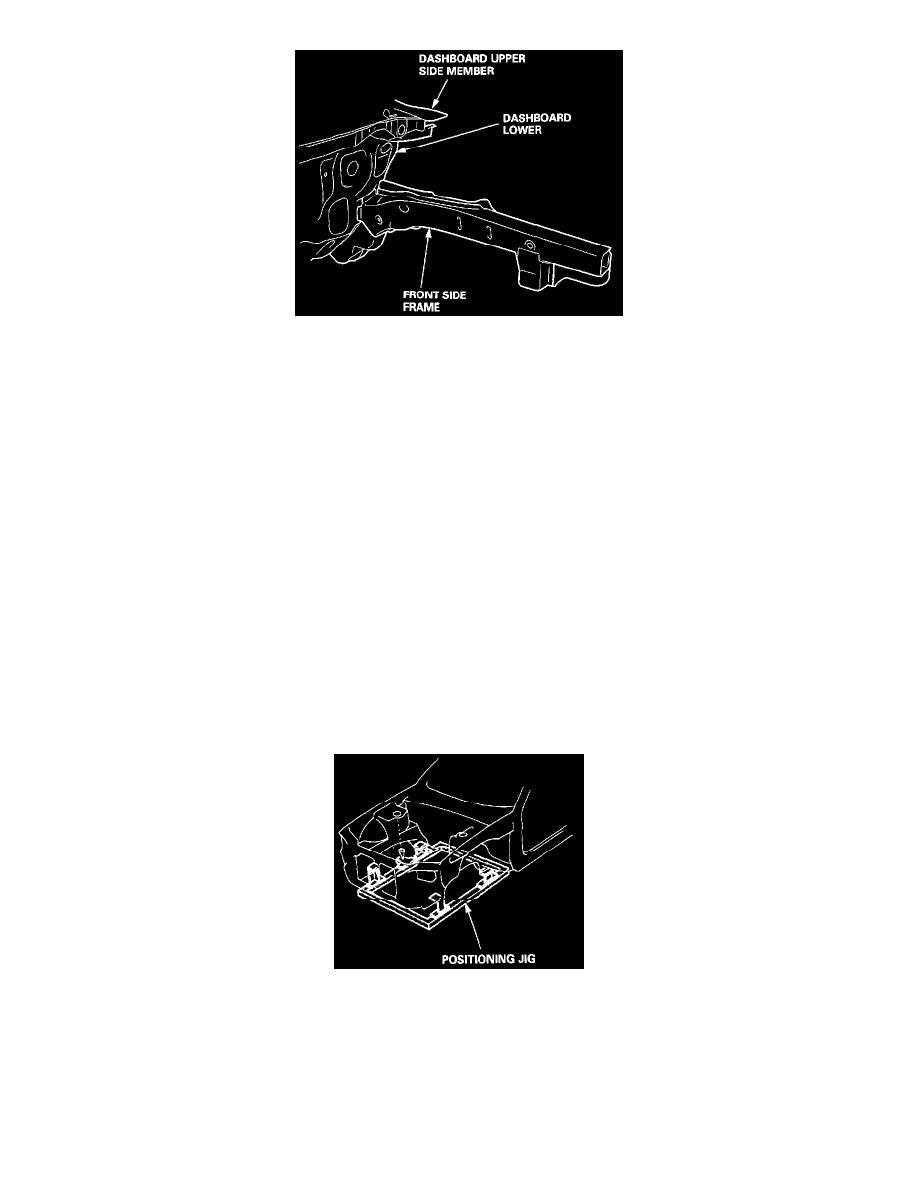
Use a hammer and dolly to even out the welded areas of the lower dashboard, front side frame and dashboard, upper side member.
8. Set the new front wheelhouse and damper housing.
-
Apply body paint to both sides of the new front wheelhouse and damper housing.
-
See Paint Repair section.
WARNING:
-
Ventilate when spraying paint. Most paint contains substances that are harmful if inhaled or swallowed. Read the paint label before
opening the paint container.
-
Avoid contact with skin. Wear an approved respirator, gloves, eye protection, and appropriate clothing when painting.
-
Paint is flammable. Store it in a safe place, and keep it away from sparks, flames or cigarettes.
-
Remove the undercoat from both sides of the welding section and expose the steel plate using a disc sander.
WARNING: To prevent eye injury, wear goggles or safety glasses whenever sanding, cutting, or grinding.
-
Clamp the front side frame with vise-grips and squill vises.
NOTE: Apply the spot sealer to the welding surface when spot welding.
-
Clamp the front bulkhead with vise-grips.
-
Measure the front compartment diagonally.
NOTE: Use of a positioning jig is recommended.
-
Spot weld several points in the clamped sections, and temporarily attach the front wheelhouse and damper housing.
WARNING: To prevent eye injury and burns when welding, wear an approved welding helmet, gloves and safety shoes.