
MDX V6-3.7L (2007)
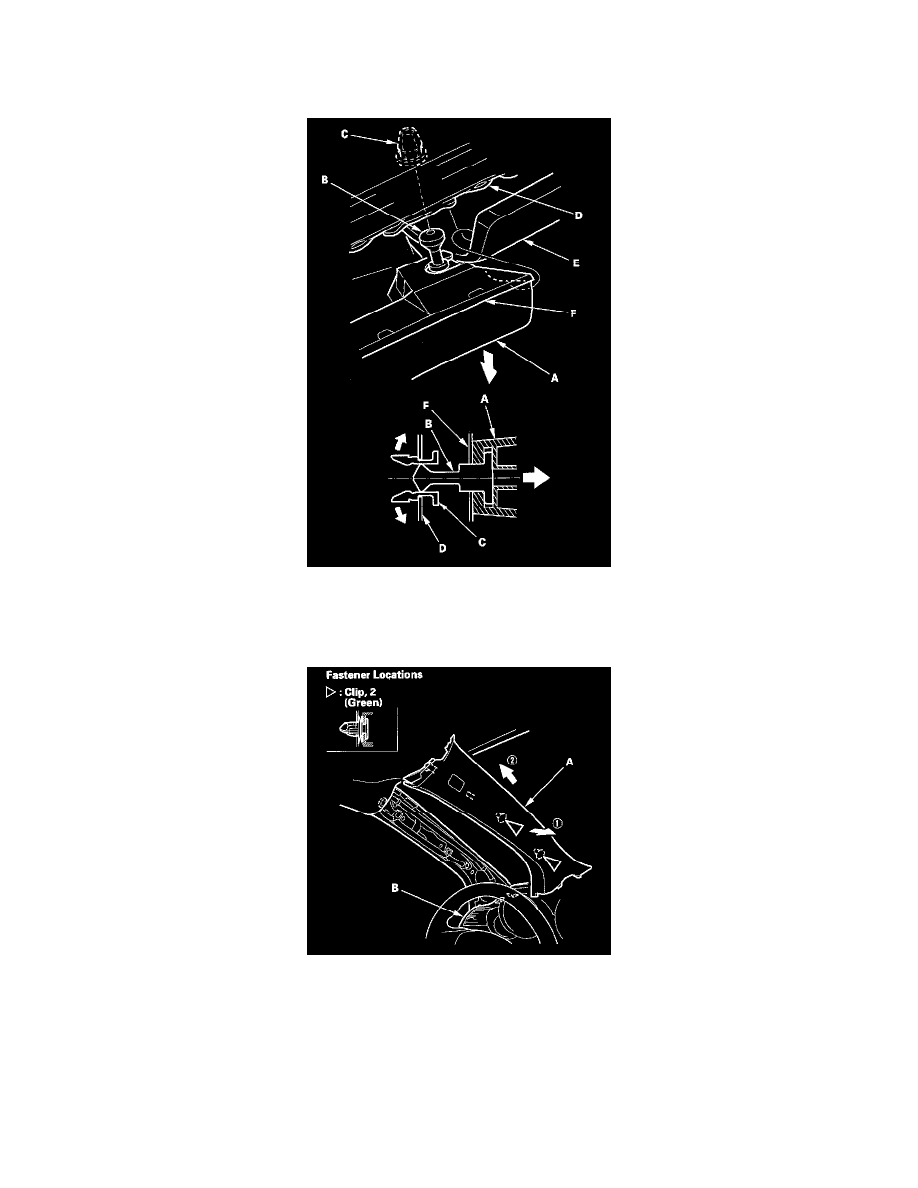
AIRBAG" mark (B). Hitting the trim surface breaks the shoulder (C) on the grommet (D) and pushes the pin (E) and grommet against the body
(F).
NOTE: The clip must be replaced with a new one when the A-pillar trim is reinstalled.
3. Pull the top of the A-pillar trim (A) back by hand to remove the pin (B) from the grommet (C) remaining in the body (D).
NOTE: The edge of the headliner (E) lies between the A-pillar trim and the guide bracket (F) of the trim. The A-pillar trim shouldn't be pulled
out too far at a time, or the guide bracket might catch the headliner and bend it.
4. Remove the A-pillar trim (A) by hand to detach the remaining clips, then pull the trim up from the dashboard(B).
5. Remove the grommet from the body.
NOTE: The upper grommet must be replaced with a new one because the grommet is damaged during removal.
6. If the side curtain airbag has been deployed, replace the A-pillar trim with a new one.