
MDX V6-3471cc 3.5L (2002)
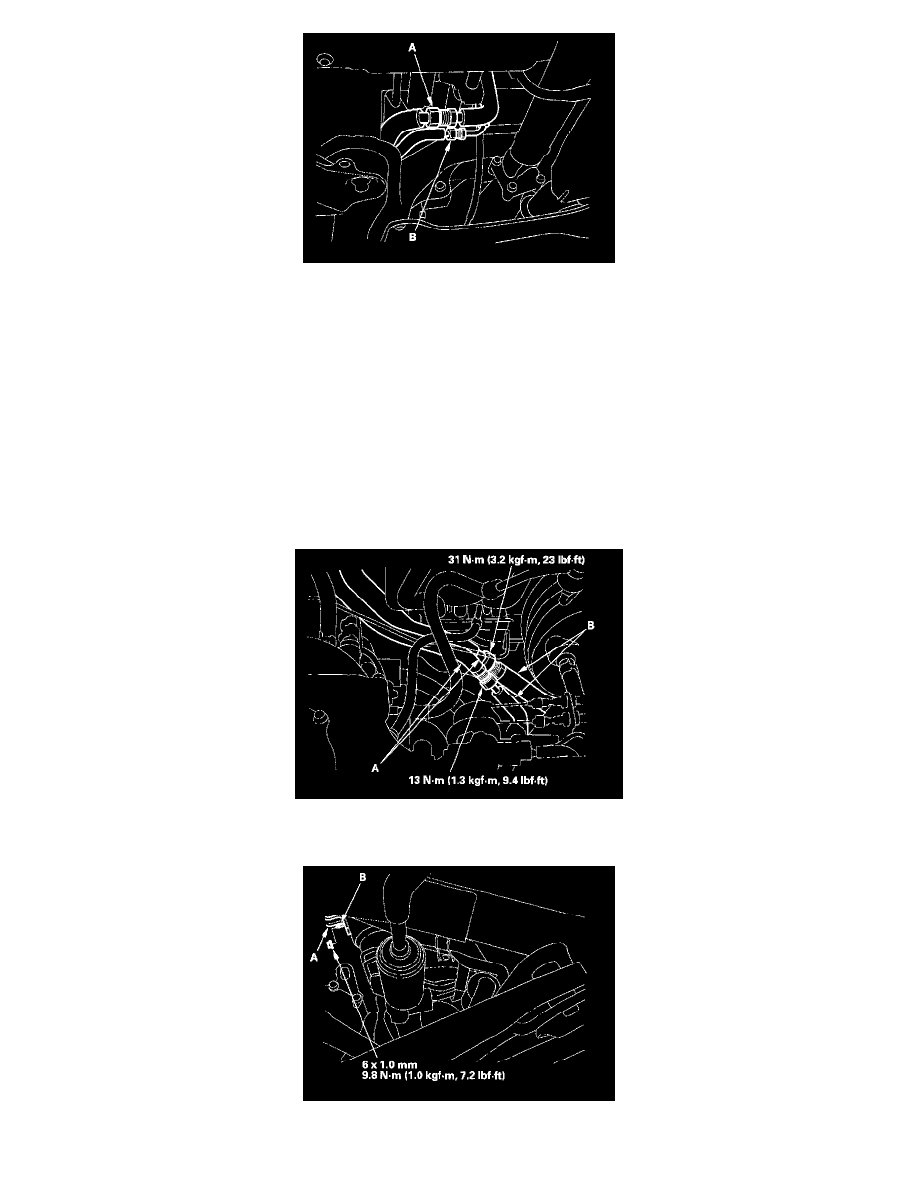
6. Disconnect the rear A/C suction line (A) and receiver line (B) at the rear evaporator connections.
7. Free the rear A/C lines from the bracket above the steering gearbox.
8. Remove the rear A/C lines (receiver line, then suction line) from the top of the engine compartment. If necessary, bend the rear A/C lines as
needed for removal.
NOTE: Be careful not to bend or snag the brake lines, wire harness, or other components when removing the rear A/C lines.
Installation
NOTE:
-
Use care not to bend the replacement A/C lines during installation.
-
Be careful not to bend or snag the brake lines, wire harness, or other components when installing the replacement A/C lines.
1. Route the lower replacement rear A/C lines (suction line, then receiver line) from the top of the engine compartment down to the rear evaporator
connections. Do not connect the lines yet.
2. Route the upper replacement A/C lines along the engine compartment bulkhead, and loosely connect the upper lines (A) to the lower lines (B). Do
not tighten the connections yet.
3. Install the A/C line bracket (A) on the lower replacement A/C line. Slide the bracket onto its mounting stud (B), but do not install the 6 mm flange